A gallery wall can make a room feel personal and finished, but the measuring stage often causes the most stress. The solution is to treat the entire arrangement as one large piece of art rather than a collection of unrelated frames.
This gallery wall cheat sheet covers reliable layouts, frame spacing, hanging height, and sizing rules for sofas, beds, consoles, hallways, and staircases. Use it to plan on the floor, test with paper templates, and hang once with confidence.
Related Ideas You May Love
Quick List
- 1. Classic Symmetrical Grid
- 2. Relaxed Salon-Style Cluster
- 3. Three-Piece Horizontal Row
- 4. Layered Picture-Ledge Gallery
- 5. Oversized Anchor With Small Satellites
- 6. Organic Oval-and-Rectangle Mix
- 7. Modern Black-and-White Gallery
- 8. Warm Vintage Art Collection
- 9. Vertical Stack for a Narrow Wall
- 10. Stair-Step Gallery
- 11. Corner-Wrapping Gallery
- 12. Mixed Art and Dimensional Objects
How to Plan a Gallery Wall Before Hanging
Begin by measuring the usable wall rather than the entire room. Note furniture width, outlets, sconces, vents, and door swings. Choose one anchor frame first, then select supporting pieces that share a mood or palette without looking like a boxed set.
Arrange the frames on the floor and keep a tape measure nearby. Trace each frame onto kraft paper, label the hanging point, and tape the templates to the wall. Live with the plan for a day and view it from several angles before installing hardware.
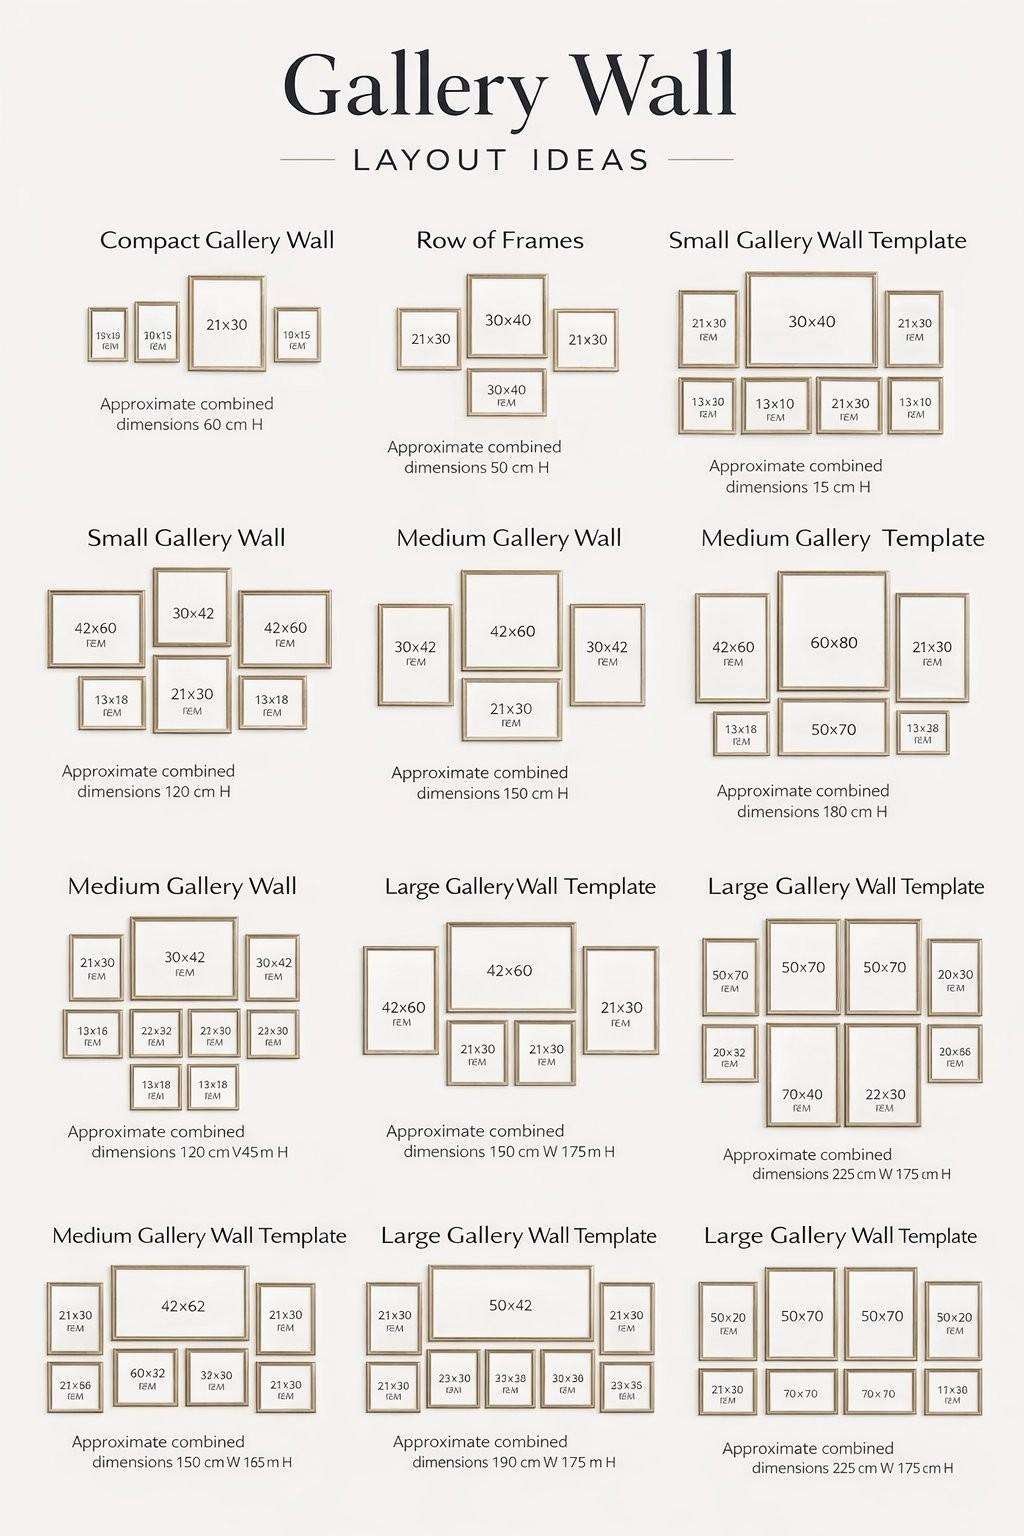
The Simple Formula
Anchor + rhythm + breathing room = a designer-looking gallery wall. Use one dominant piece, repeat a color or frame finish, and maintain consistent gaps—usually 2 to 3 inches for a collected look or 3 to 5 inches for an airy modern look.
At-a-Glance Planning Guide
| Area | Recommended Size | Placement Rule |
|---|---|---|
| Above a sofa | About 2/3 to 3/4 of sofa width | Keep the lowest frame roughly 8–10 inches above the sofa back. |
| Above a console | About 2/3 of console width | Center the group on the furniture, not automatically on the wall. |
| Open wall | Build within a taped rectangle | Place the visual midpoint around 57–60 inches from the floor. |
| Staircase | Follow the stair angle | Keep the lower edge moving upward at a consistent visual distance from the rail. |
12 Gallery Wall Layout Ideas and Rules
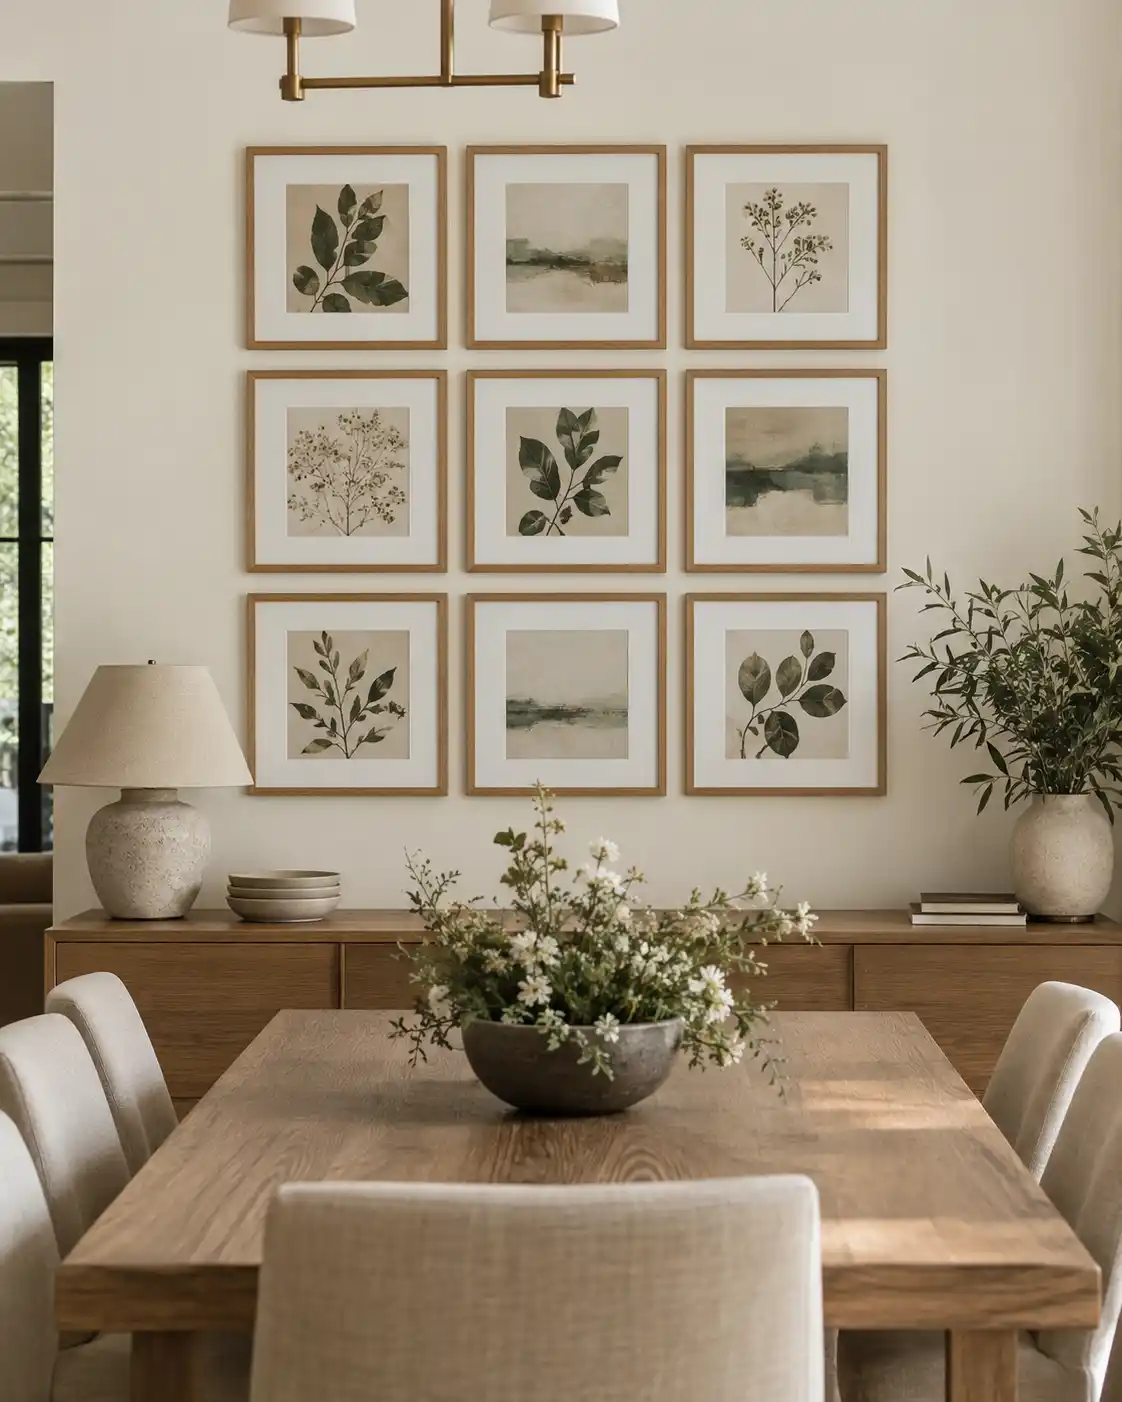
1Classic Symmetrical Grid
A neat grid is ideal when you want the wall to feel calm, tailored, and easy to scan. Use identical frame sizes, matching mats, and art with a shared subject or color story.
Mark a level centerline first, then work outward. Keep every horizontal and vertical gap identical because even a small spacing difference is easy to notice in a formal grid.
Amazon pick: Matching Gallery Wall Frame Set
A coordinated set reduces sizing mistakes and makes consistent spacing much easier.
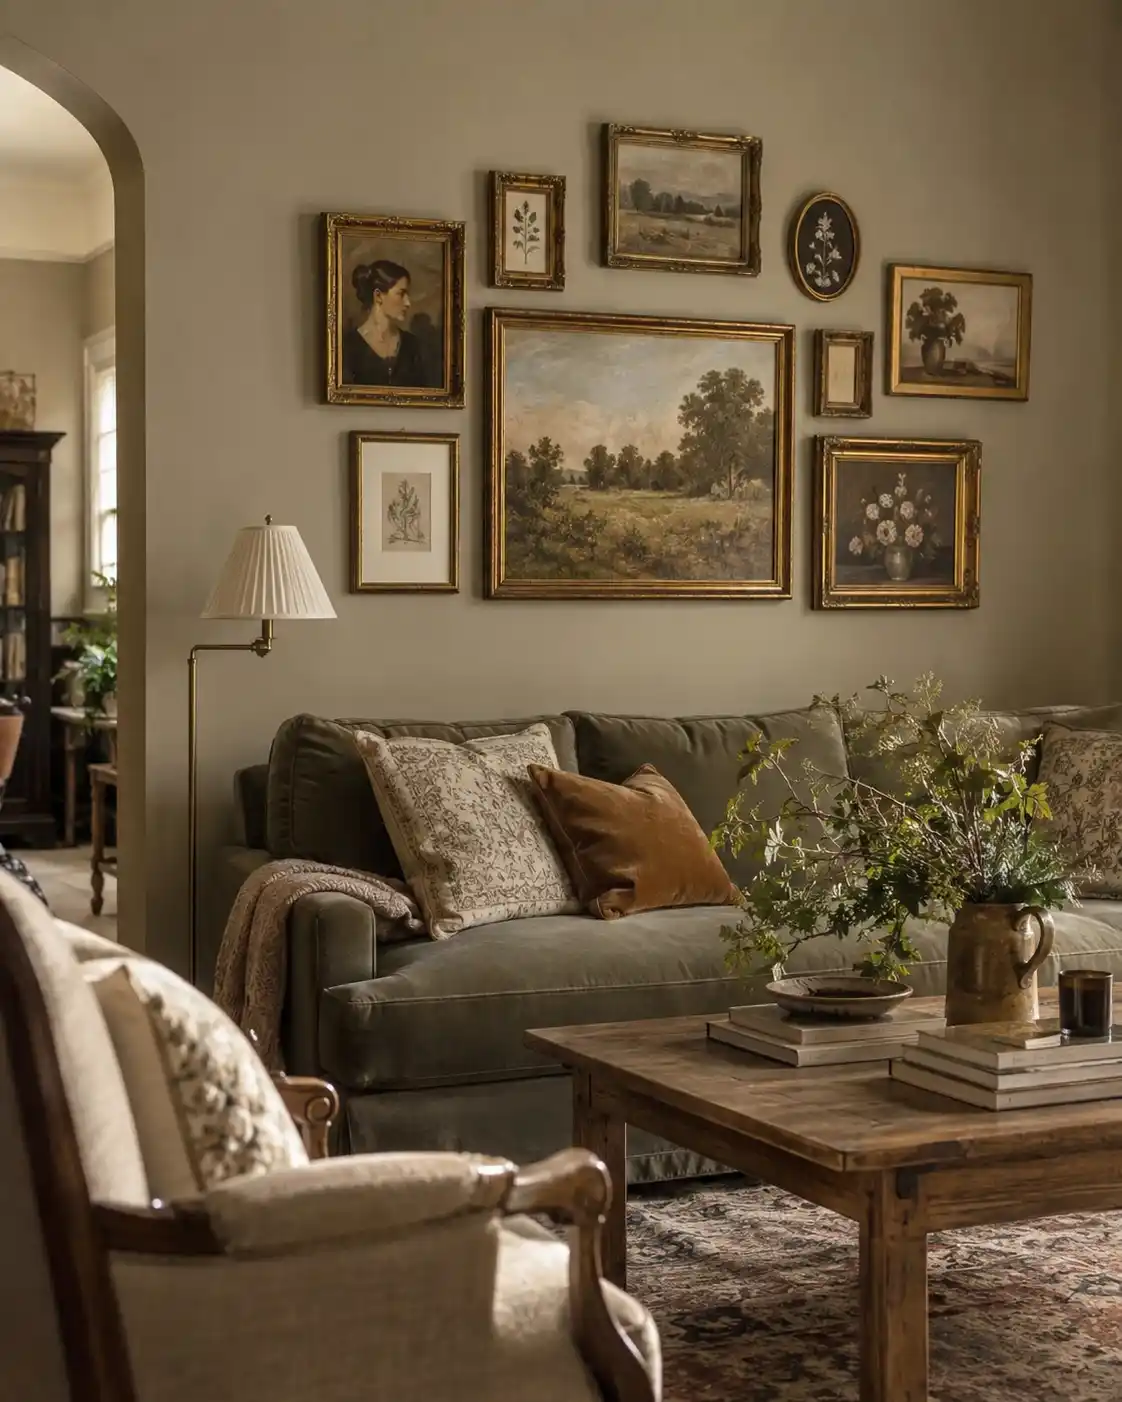
2Relaxed Salon-Style Cluster
A salon wall feels collected over time because it combines different frame sizes and orientations. Start with the largest artwork slightly off center, then build around it with smaller pieces.
Keep the outside silhouette balanced even when individual frames are irregular. Repeat one finish—such as antique gold, warm wood, or matte black—to keep the variety intentional.
Amazon pick: Assorted Vintage Picture Frames
Mixed silhouettes add character while a shared finish keeps the display cohesive.
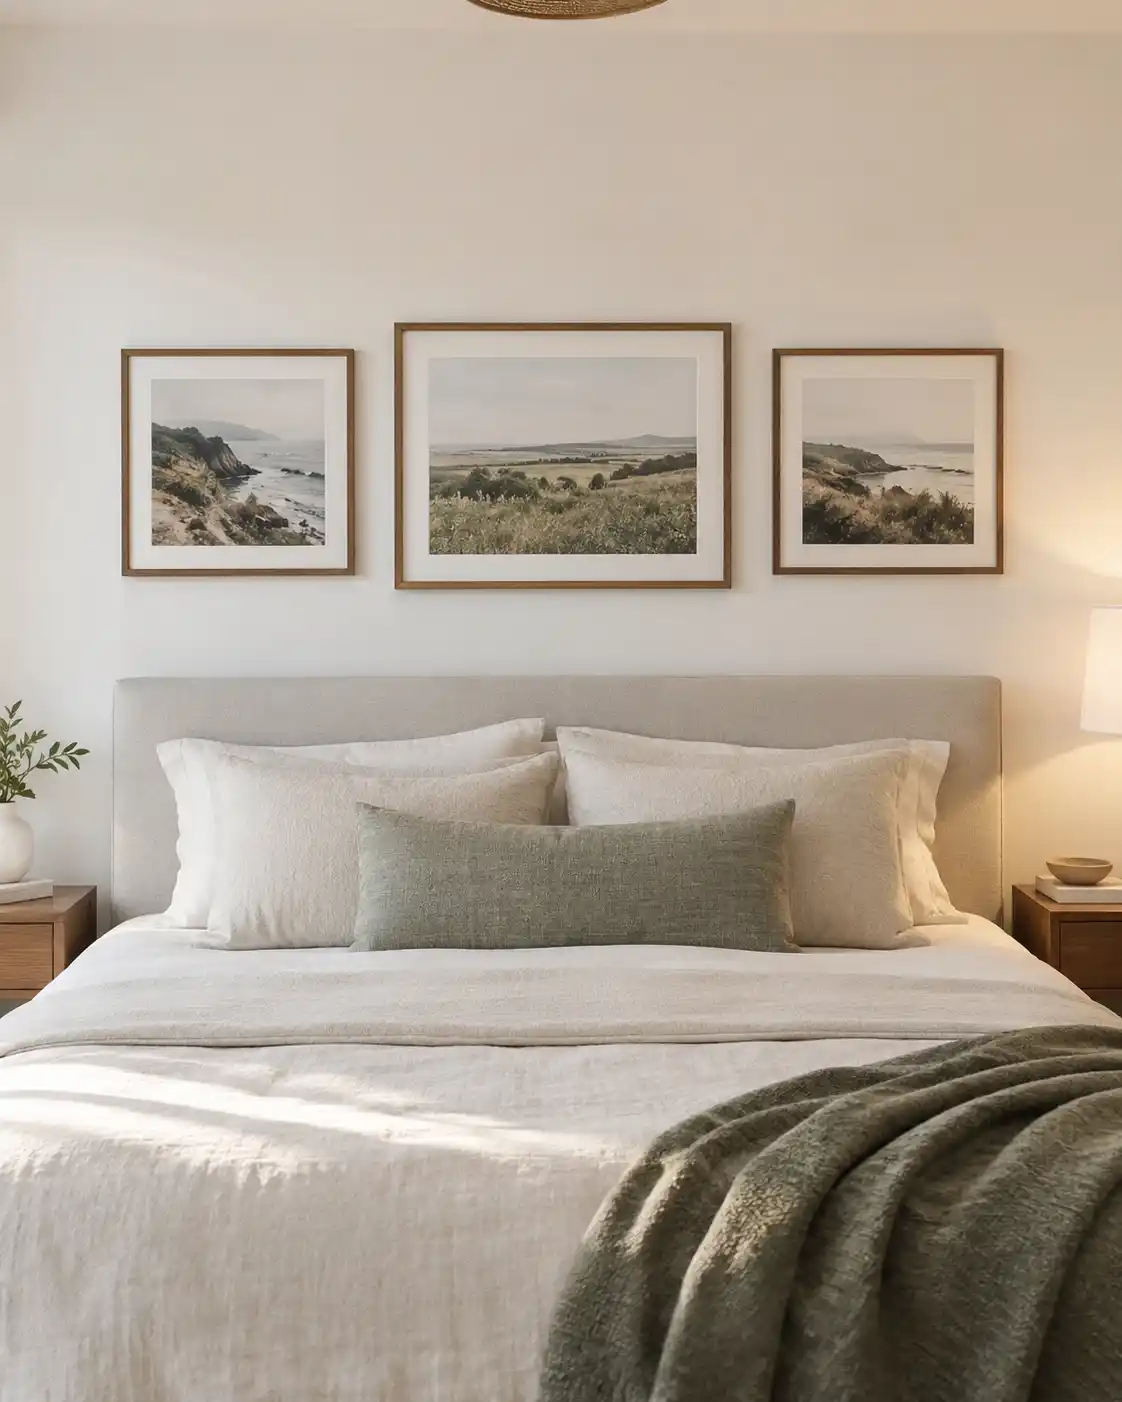
3Three-Piece Horizontal Row
Three frames in a straight row are simple, versatile, and naturally balanced above a sofa, bed, or console. Choose equal sizes for formality or make the center piece slightly larger.
The total group should relate to the furniture beneath it. A trio that is too small will float, while a group wider than the furniture can feel top-heavy.
Amazon pick: Three-Piece Wall Art Frame Set
A ready-made trio creates an easy focal point with minimal measuring.
4Layered Picture-Ledge Gallery
Picture ledges allow art to overlap and evolve without creating a new wall hole every time you rearrange it. Lean the largest piece at the back and overlap smaller frames in front.
Vary frame heights while keeping the palette controlled. A tiny vase, sculptural object, or trailing plant can break up the rectangles and add dimension.
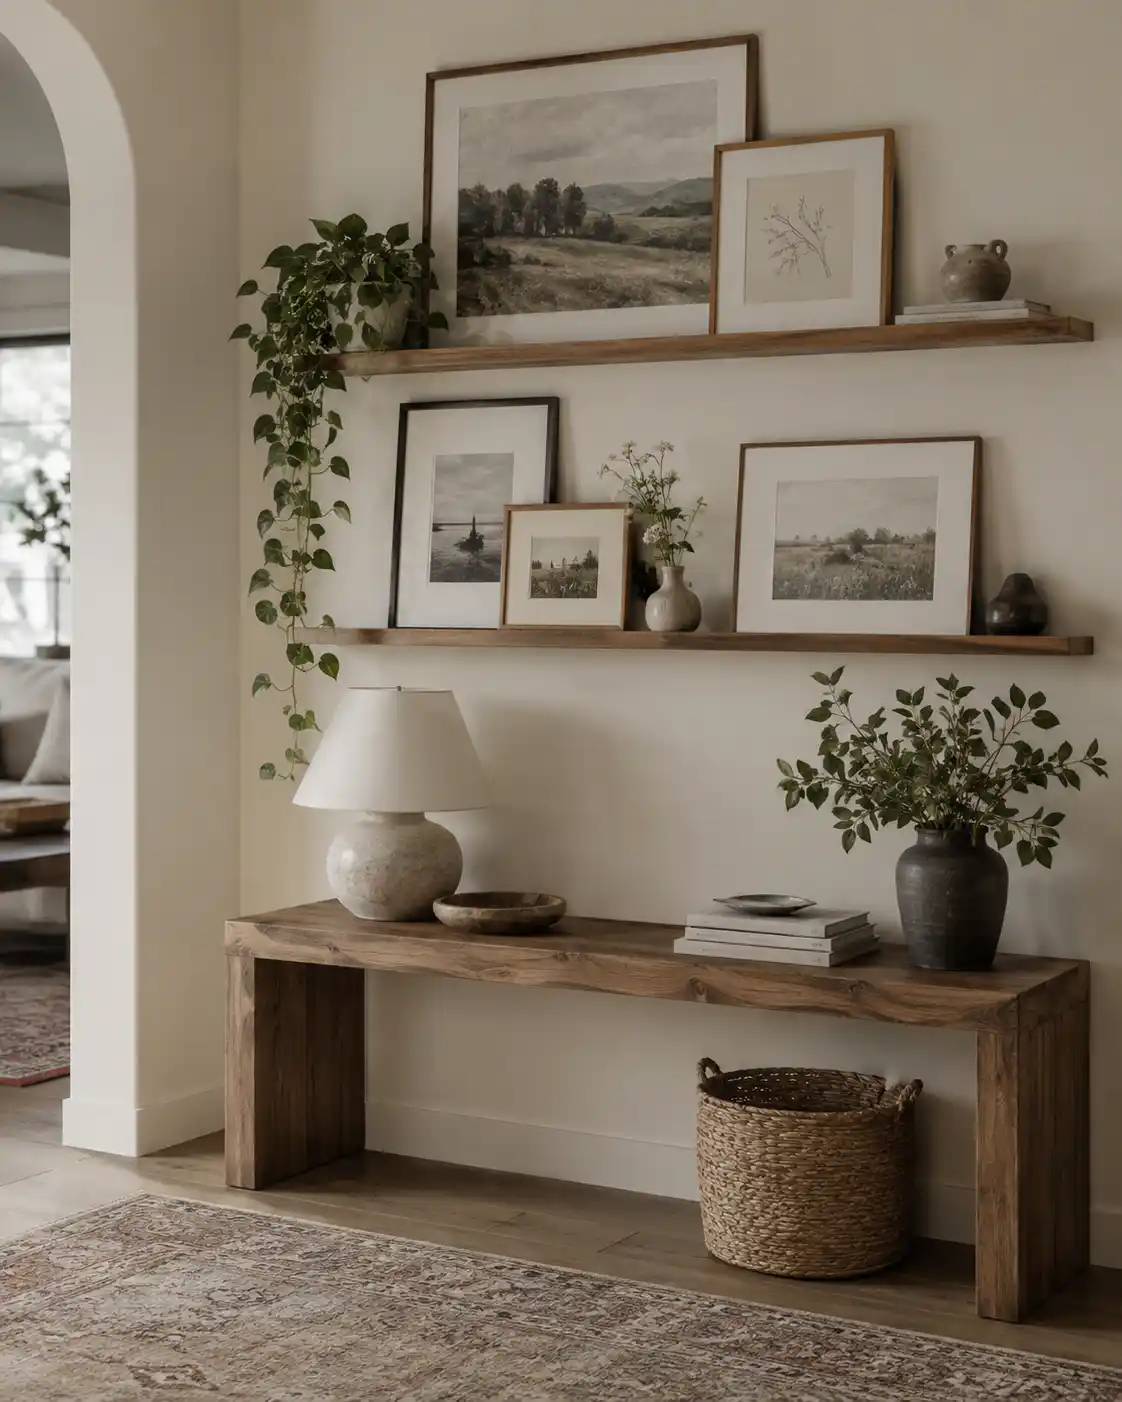
Amazon pick: Long Picture Ledge Shelf
A deep ledge with a raised lip makes seasonal rearranging safer and easier.
5Oversized Anchor With Small Satellites
Use one large artwork as the visual anchor, then position several smaller frames around two or three sides. This layout works well when you already own one statement piece.
Let the small frames support rather than compete with the anchor. Keep their colors quieter and repeat at least one tone from the main artwork.
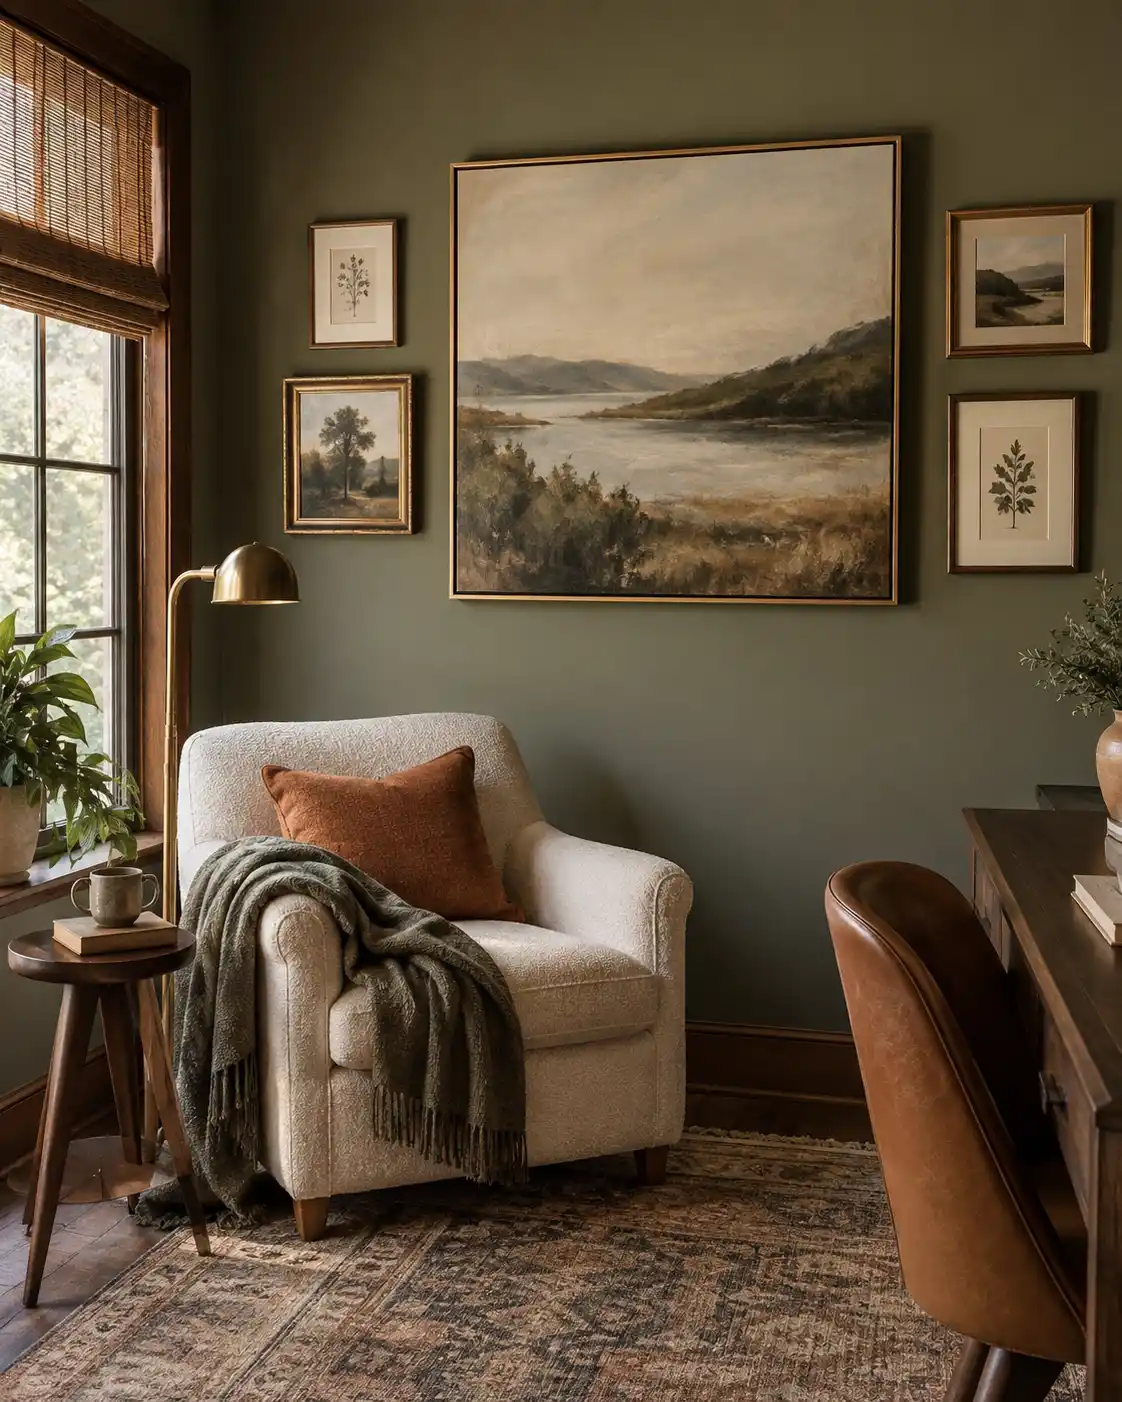
Amazon pick: Large Poster Frame With Mat
A substantial matted frame gives the arrangement a confident center.
6Organic Oval-and-Rectangle Mix
One oval or round frame among rectangles immediately creates a collected, designer-style effect. It introduces a curve without requiring a separate decorative object.
Position the curved frame where it can relieve a rigid corner in the arrangement. Keep its finish related to at least two other frames so it does not look accidental.
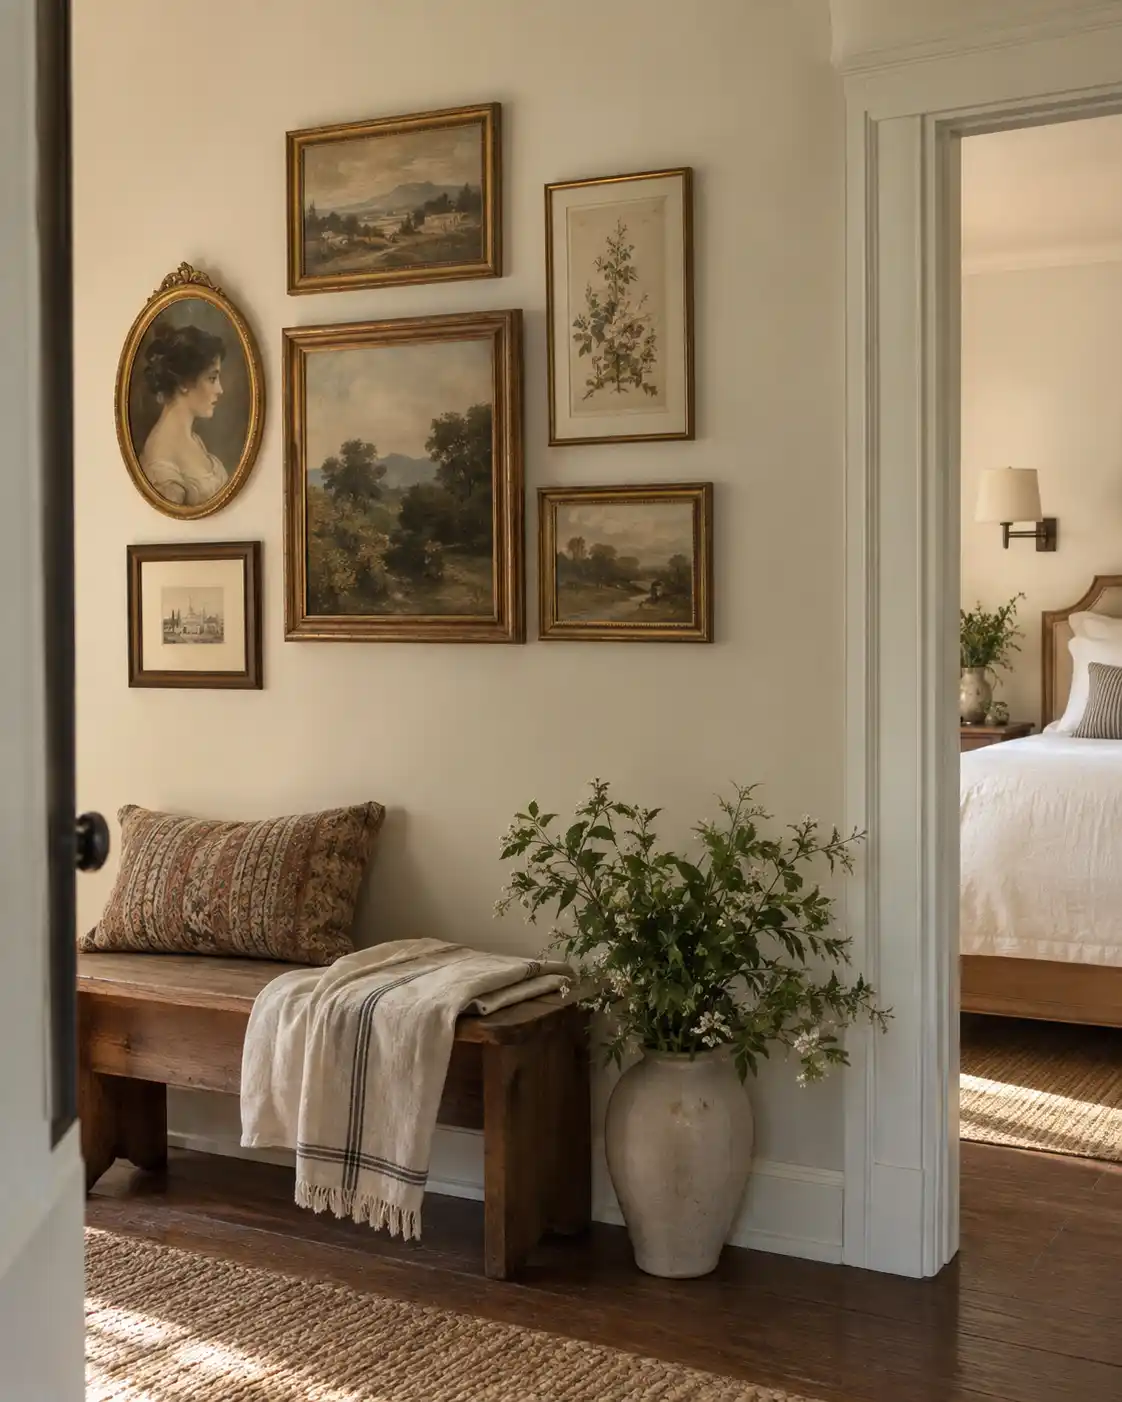
Amazon pick: Vintage Oval Picture Frame
An ornate oval accent adds silhouette variety to a mostly rectangular grouping.
7Modern Black-and-White Gallery
Black frames, white mats, and monochrome photography create a crisp display that suits modern, industrial, and Scandinavian rooms. Vary image scale to keep it from feeling corporate.
Include close-ups, landscapes, and negative space rather than using similarly cropped photographs. A single warm wood accent nearby can soften the strong contrast.
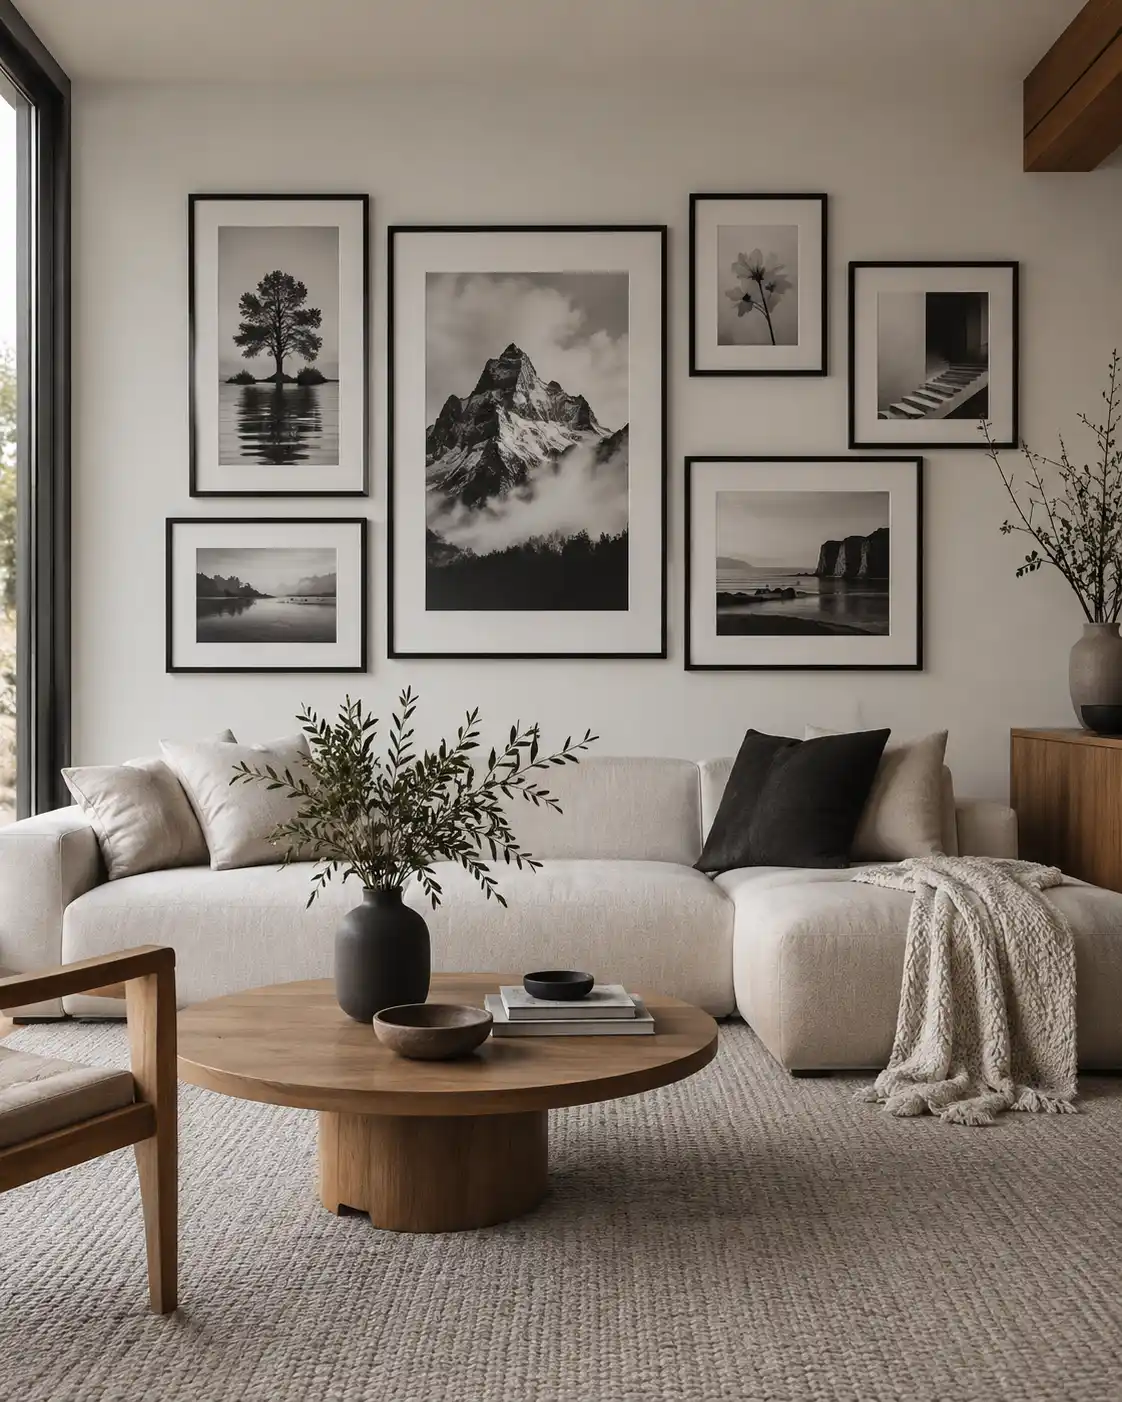
Amazon pick: Black Frames With White Mats
Consistent mats give mixed photography a polished visual rhythm.
8Warm Vintage Art Collection
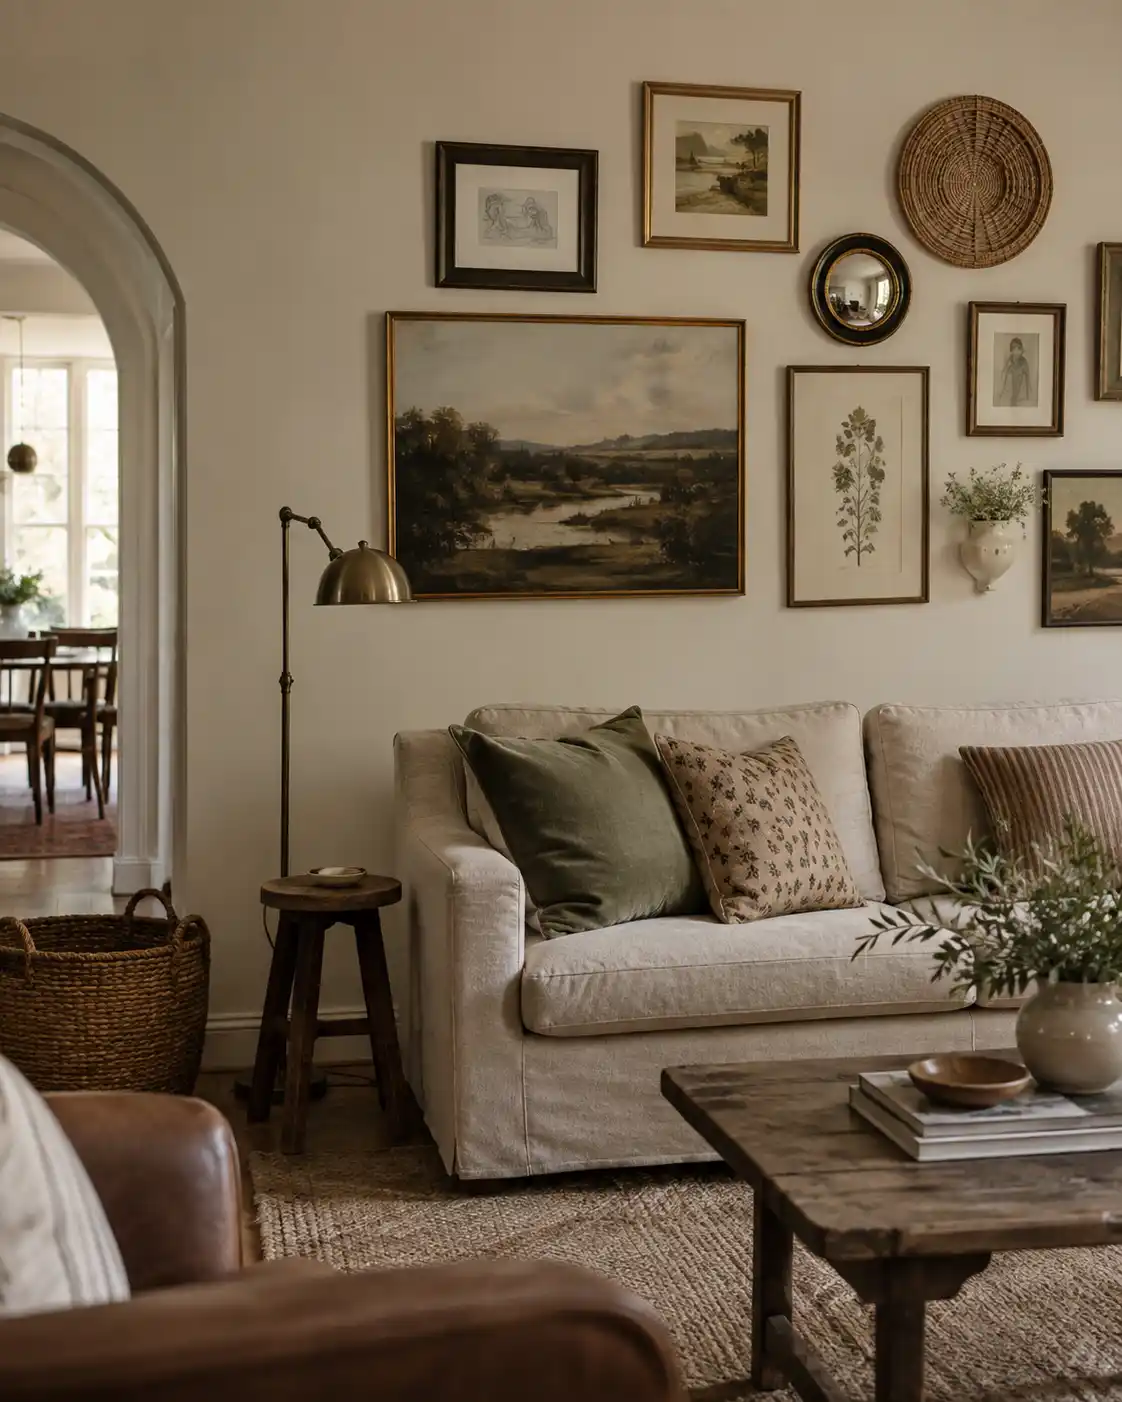
Muted landscapes, botanical studies, and small sketches create a wall that feels storied rather than newly purchased. Choose cream paper, dusty greens, soft brown, and aged gold.
Mix flat wood frames with a few ornate profiles while staying in the same warm finish family. A large landscape can anchor several smaller botanicals.
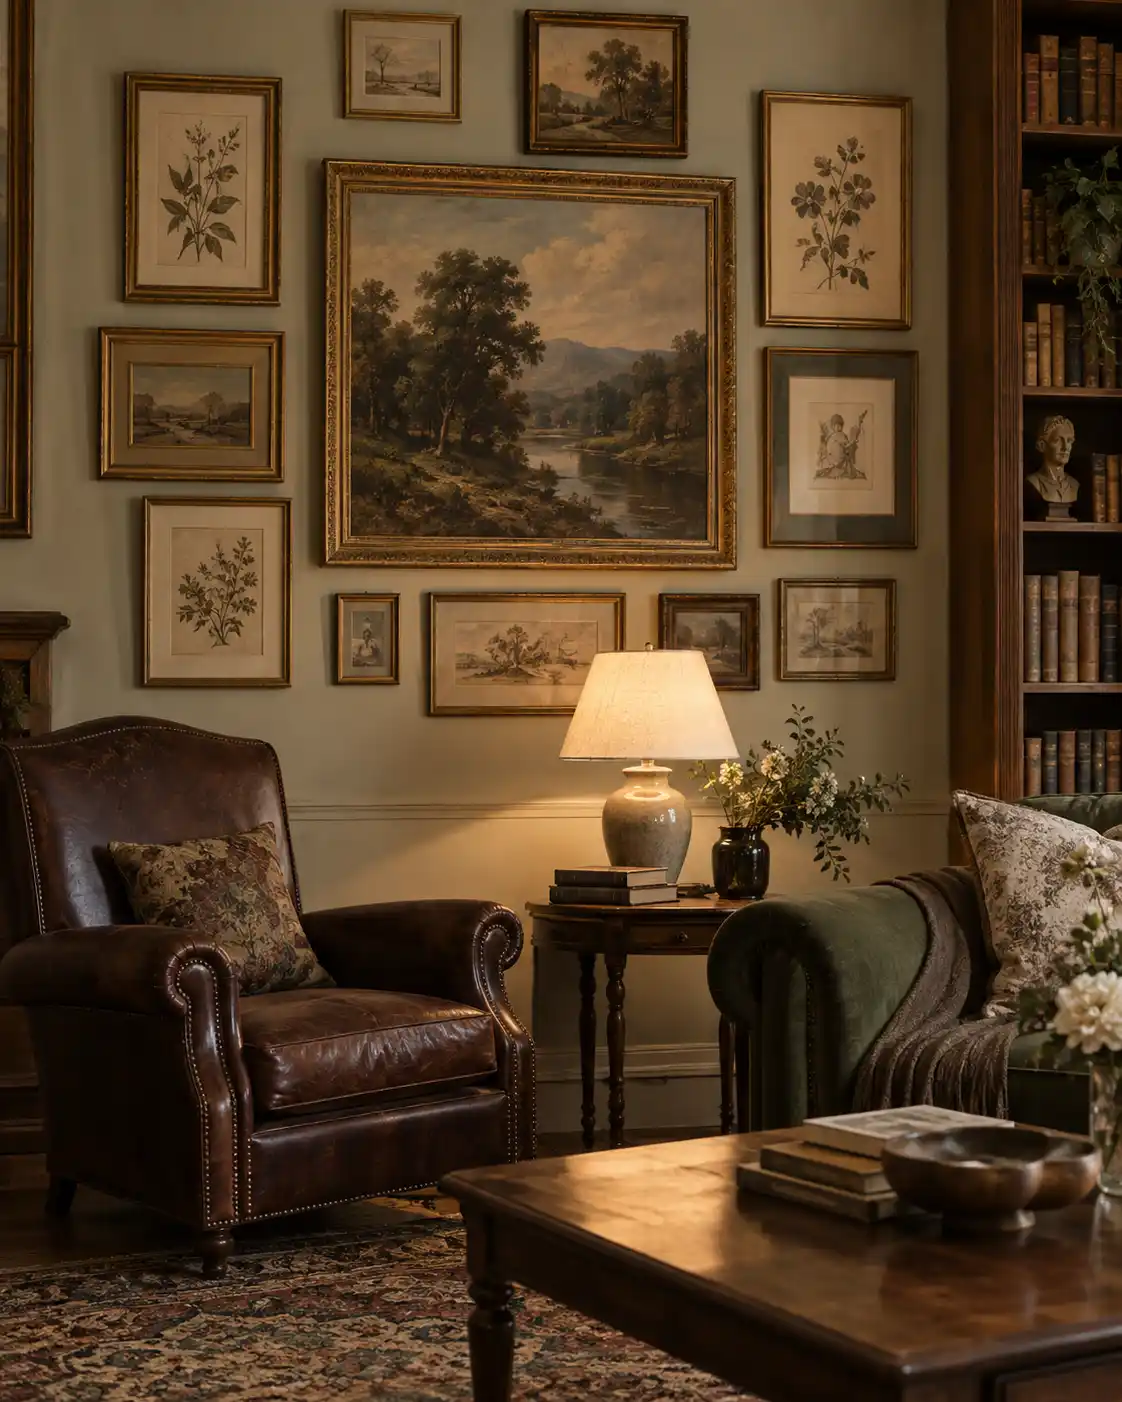
Amazon pick: Vintage Botanical Print Set
A coordinated print set provides flexible sizes for filling smaller gaps.
9Vertical Stack for a Narrow Wall
A vertical stack is perfect beside a doorway, between windows, or above a slim cabinet. Two to four frames draw the eye upward without using much width.
Align the frames through their centers rather than their outer edges when sizes vary. Keep the gaps slightly tighter than on a wide wall so the stack reads as one unit.
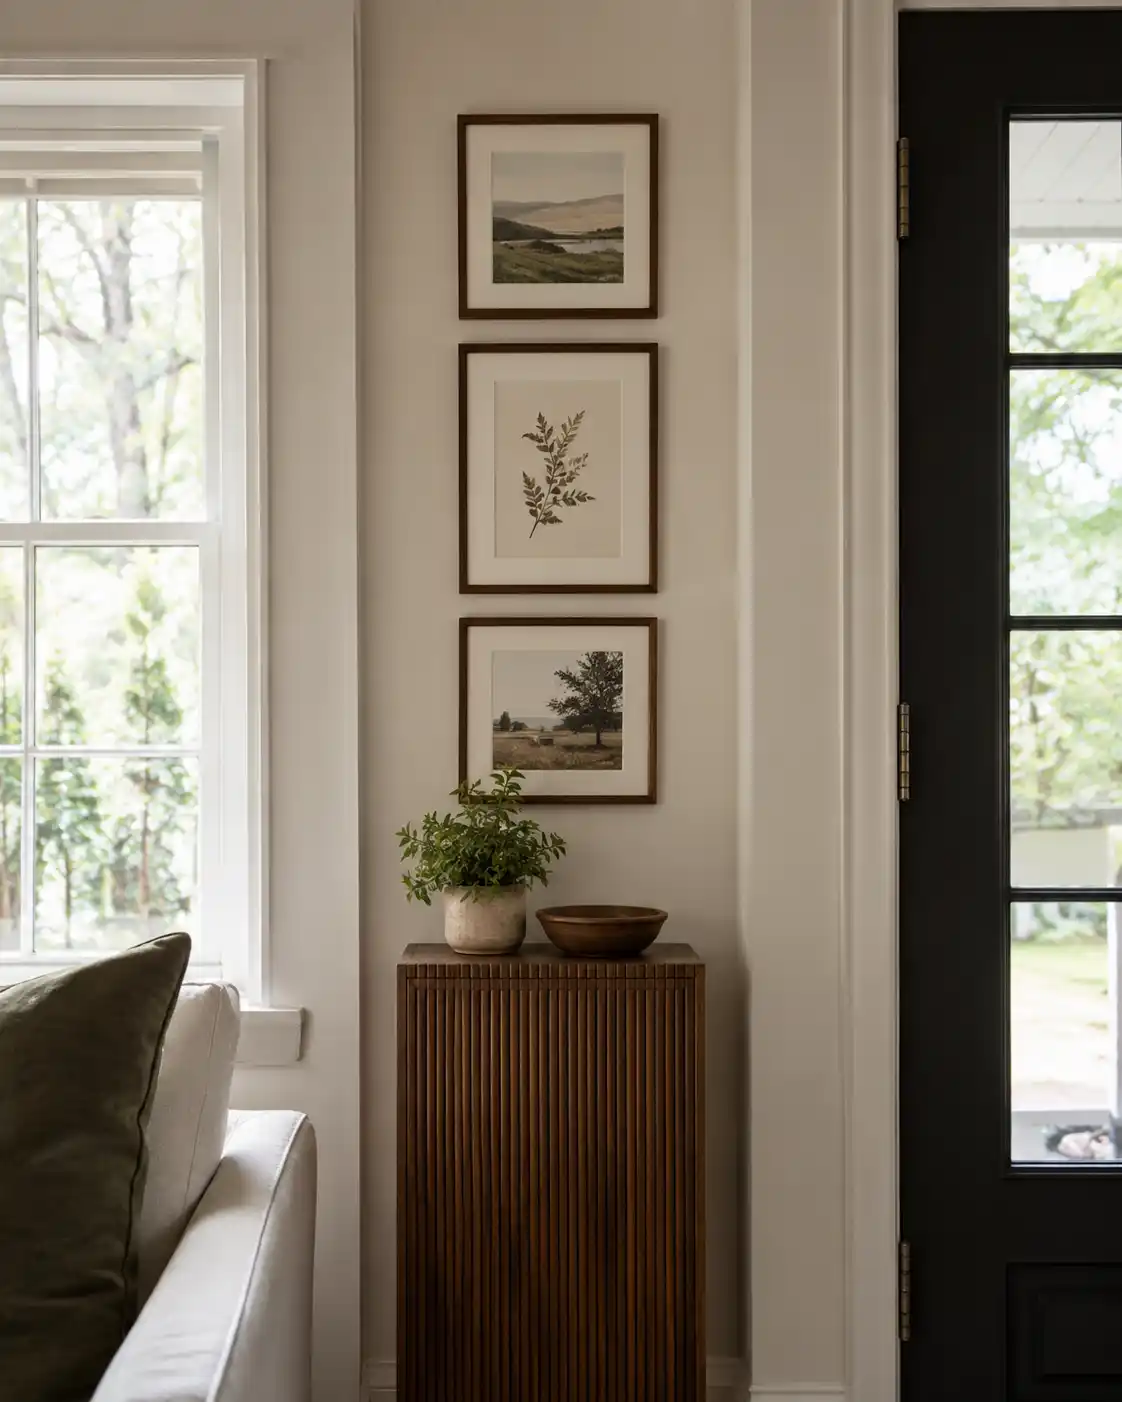
Amazon pick: Vertical Picture Frame Set
Narrow matching frames simplify a clean floor-to-ceiling arrangement.
10Stair-Step Gallery
A staircase gallery should visually follow the angle of the steps. Begin with a line of anchor frames that rises with the handrail, then fill small spaces above and below.
Use family photos, travel memories, or a unified art collection so the long display tells a story. Keep the center of each major frame at a similar height above its corresponding tread.
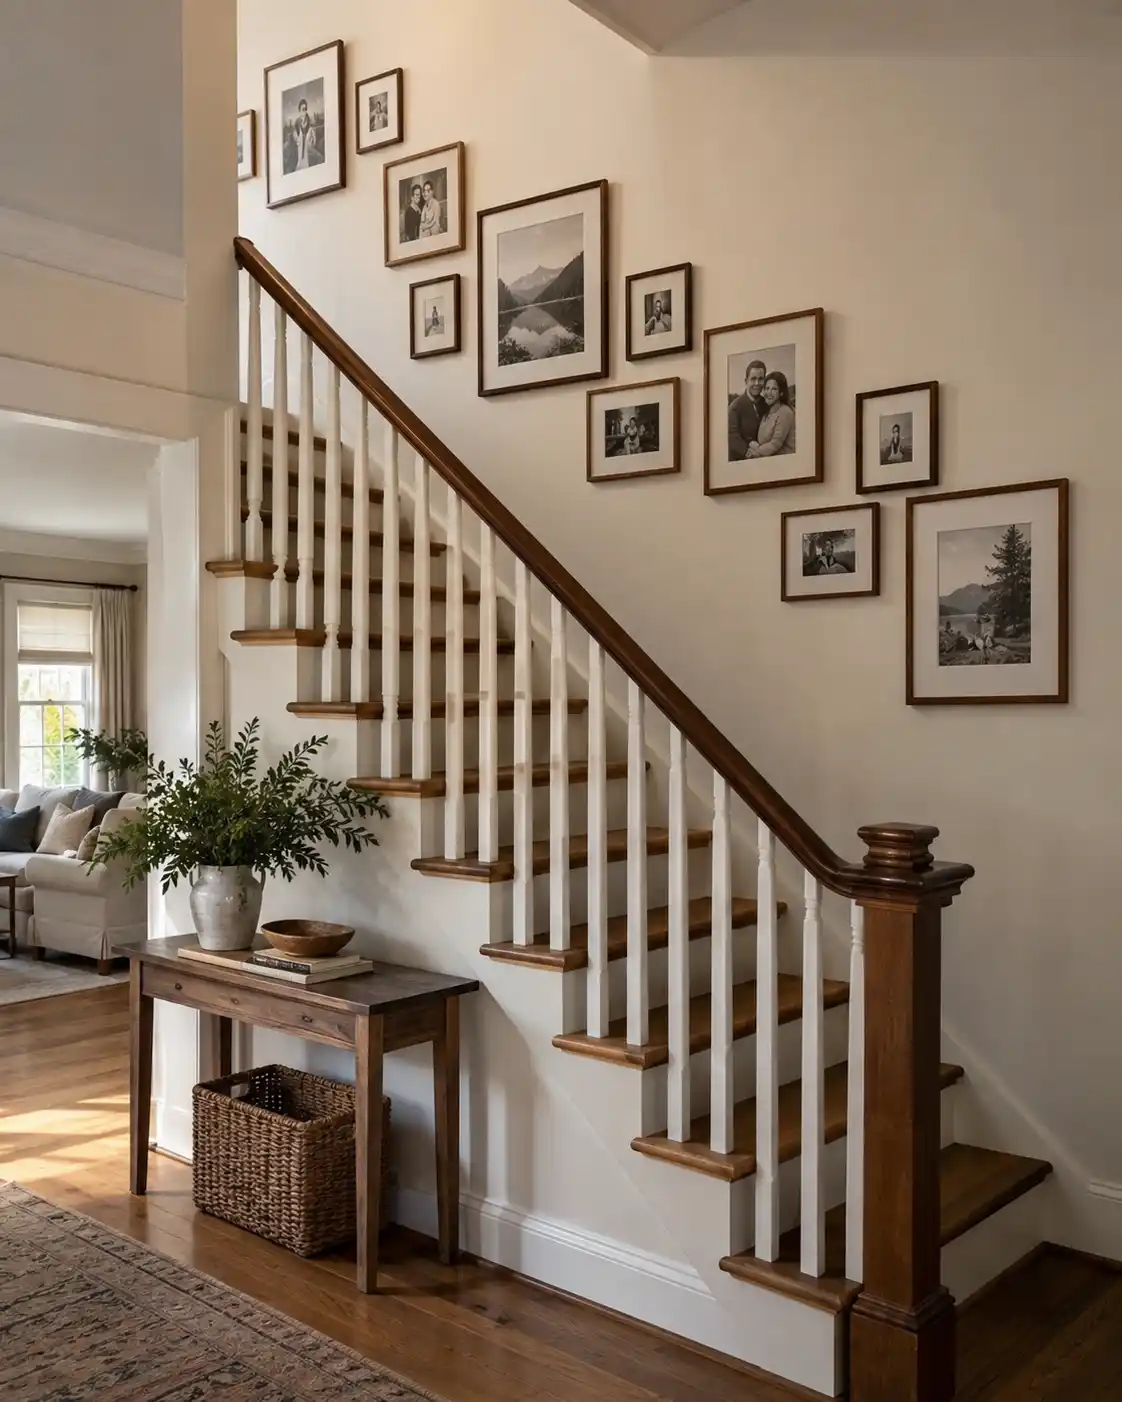
Amazon pick: Picture Hanging Template Paper Kit
A template kit helps map a rising layout before any holes are made.
11Corner-Wrapping Gallery
Wrapping a collection around an inside corner makes an overlooked area feel immersive. Treat both walls as one composition and repeat colors across the corner.
Place one stronger piece on each wall so the display feels balanced from multiple viewpoints. Leave enough clearance from the corner for frames to hang flat.
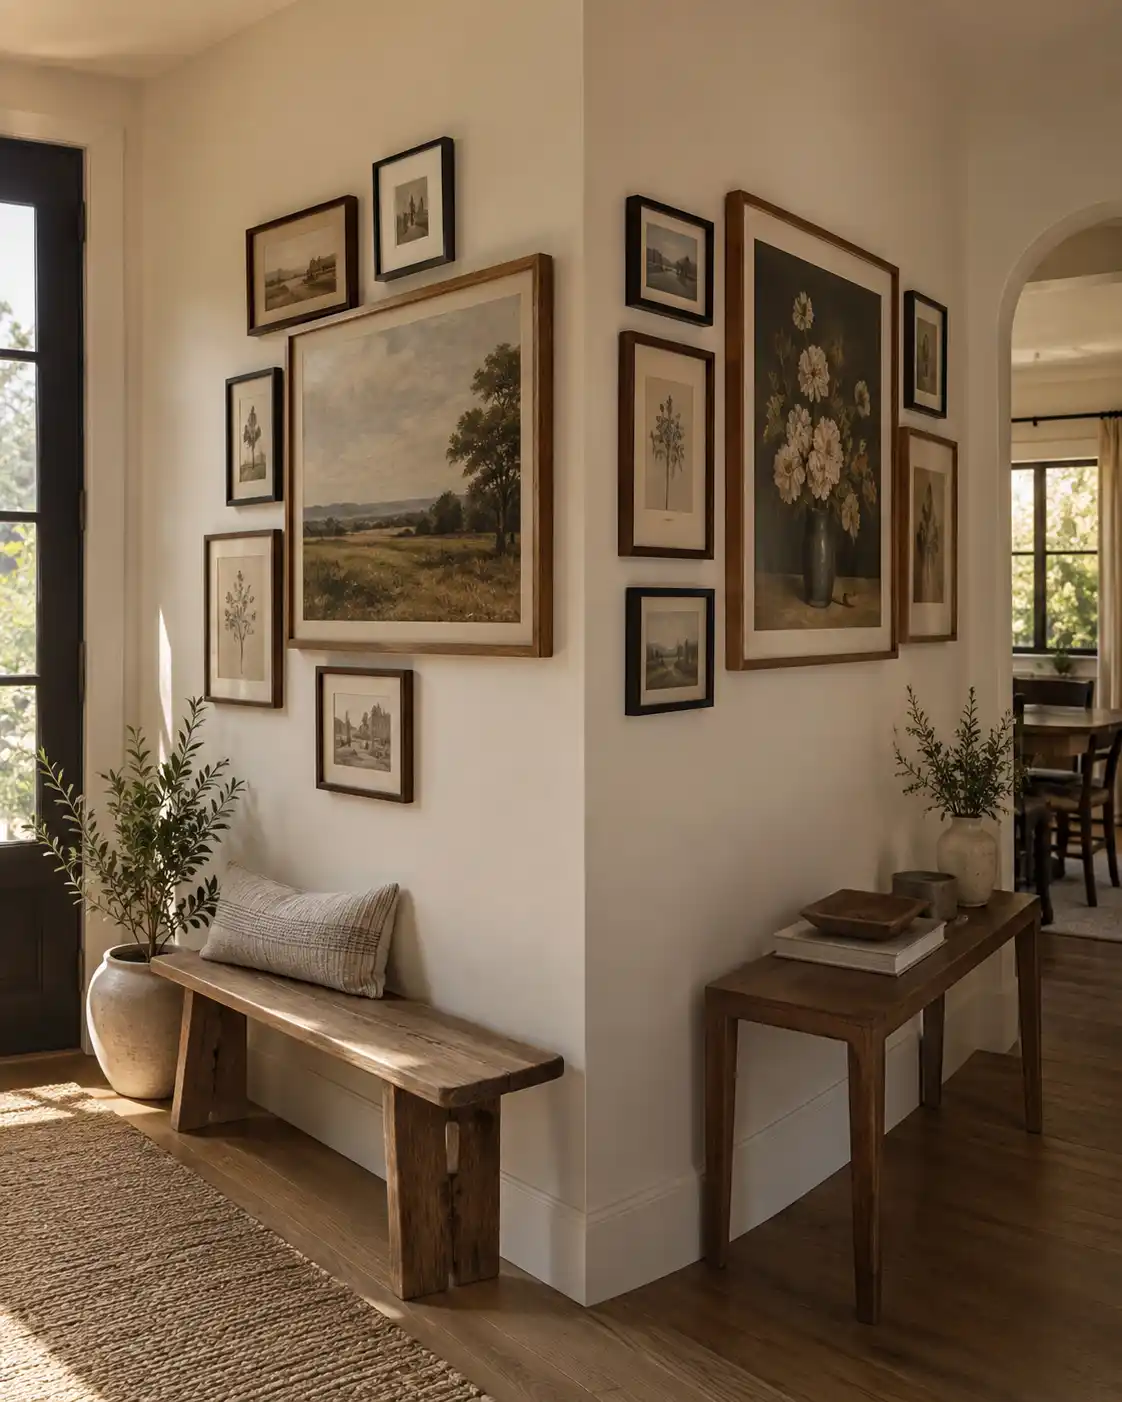
Amazon pick: Lightweight Gallery Frames
Lightweight frames are easier to position securely near a corner.
12Mixed Art and Dimensional Objects
Small mirrors, woven pieces, ceramic wall pockets, or vintage plates can break up a field of rectangles. Use dimensional accents sparingly so art remains the main story.
Repeat the object material elsewhere in the room—for example, woven texture in a basket or brass in a lamp—to make the wall feel connected to the furnishings.
Amazon pick: Mixed Picture Hanging Hardware Kit
An assorted kit gives different objects the support they require.
Shopping Checklist
| Item | Best For | Amazon Search |
|---|---|---|
| Frames and mats | Creating a unified base | Browse options |
| Kraft paper roll | Making full-size templates | Browse options |
| Painter’s tape | Testing the footprint safely | Browse options |
| Laser level | Keeping rows and grids straight | Browse options |
| Picture hooks | Supporting different frame weights | Browse options |
Best Color and Finish Palettes
- Warm collected: Cream, sage, terracotta, walnut, and antique brass.
- Modern monochrome: Black, white, charcoal, and pale oak.
- Coastal calm: Soft blue, sand, ivory, and weathered wood.
- Playful eclectic: Rust, mustard, teal, blush, and dark wood.
Mistakes and Safety Tips
- Do not center the gallery on the whole wall when it is meant to relate to a sofa, bed, or console.
- Avoid mixing random gaps; choose a spacing rule and repeat it throughout.
- Check frame and hardware weight ratings, locate studs when needed, and keep heavy objects away from sleeping or seating positions unless securely anchored.
- Do not hang the whole arrangement too high; test the visual midpoint near 57–60 inches from the floor.
- Keep glass-covered art away from strong glare when possible, or choose non-glare acrylic.
Frequently Asked Questions
How do I keep a gallery wall from looking cluttered?
Limit the color palette, repeat two or three materials, and leave a little empty space. A clear focal point makes even a layered arrangement feel calm.
Can I create this look on a small budget?
Yes. Start with the largest visual change, reuse what you own, and add only the storage, hardware, frames, or planters that solve a specific problem.
How do I choose the right scale?
Measure the available area before shopping and use painter’s tape to outline the proposed width and height. View it from the room’s main entrance before committing.
Should every piece match?
No. Repetition creates cohesion, but slight variation adds character. Keep one common thread such as color, finish, shape, or material.
What should I buy first?
Buy the functional foundation first, then the focal piece, and finally smaller accents. This order reduces impulse purchases and keeps the finished result intentional.
Recommended Finds on Amazon
These practical finds help you recreate the look without hunting through dozens of unrelated listings. Always confirm measurements, material, mounting requirements, and recent reviews before ordering.
Amazon pick: All-in-One Picture Hanging Tool
It transfers hanging-point measurements to the wall and can reduce repeat holes.
Amazon pick: Gallery Wall Frame Set
A coordinated set makes it easier to build a balanced arrangement quickly.
Amazon pick: Self-Leveling Laser Level
A visible reference line helps with grids, rows, and long picture ledges.
Final Thoughts
The most successful gallery walls are planned but not sterile. Begin with a measured footprint, choose one clear anchor, repeat a few colors or finishes, and leave consistent space between pieces. Once the structure is right, personal photographs, vintage prints, and meaningful objects can make the wall feel completely yours.

Nikita Rout is a passionate content writer at HowItSee.com, where she explores the wonders of animals, nature, and the curious questions that spark our imagination. With a love for research and a knack for simplifying complex topics, she brings clarity and creativity to every article she writes. When she’s not writing, you’ll likely find her reading about animal behavior or coming up with unique pet name ideas.