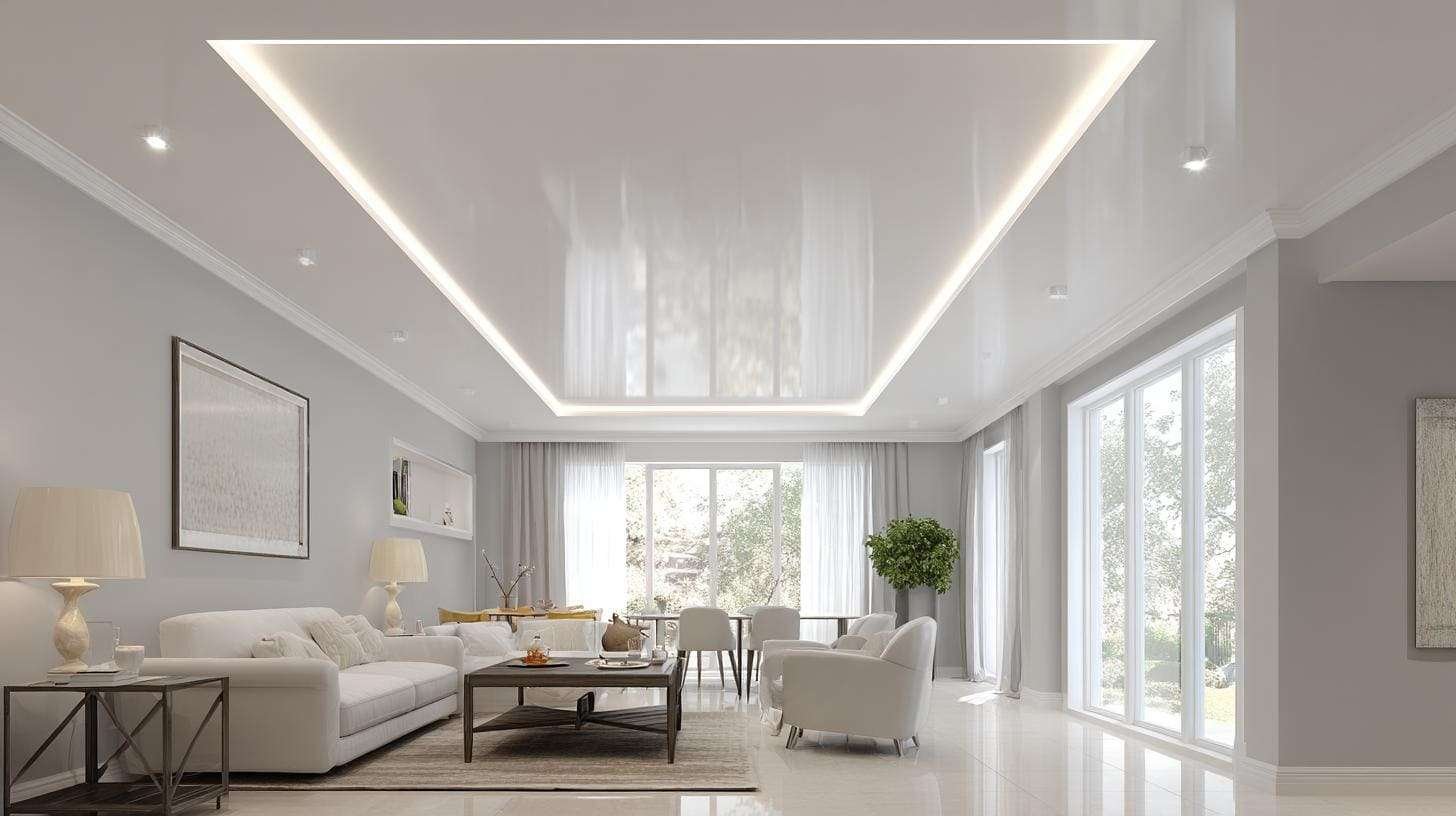
When decorating a home, it’s easy to focus on the walls, floors, and furniture while completely overlooking the ceiling. But a plain ceiling can become one of the most beautiful features in a room with a little creativity. From elegant molding and warm wood planks to decorative ceiling tiles and soft painted patterns, there are plenty of budget ceiling ideas that look expensive without requiring a complete renovation.
These 16 budget-friendly ceiling ideas include easy paint updates, affordable architectural details, decorative wallpaper, vintage-inspired finishes, and clever DIY alternatives to expensive custom ceilings. Whether you’re refreshing a bedroom, living room, kitchen, basement, or small apartment, you’ll find practical ways to give the often-forgotten fifth wall a more polished appearance.
More Home Decorating Ideas to Explore:
16 Budget Ceiling Ideas That Look Expensive
1. Paint Elegant Geometric Patterns on the Ceiling
A painted geometric ceiling is one of the most affordable ways to introduce a custom-designed look. Instead of leaving the entire surface plain white, add subtle stripes, broad blocks of color, or a simple diamond pattern. When the lines are carefully measured and the shades complement the furniture, the finished ceiling can look like a thoughtful designer feature.
Start with a clean, sound ceiling and choose two coordinating paint colors. Soft cream and warm beige create a quiet, sophisticated look, while pale blue and white work beautifully in a coastal bedroom. Use a measuring tape, level or suitable layout tool, and painter’s tape to mark the design. Apply ceiling-compatible paint in thin, even coats and remove tape according to the manufacturer’s directions.
Budget tip: Use one simple repeating pattern rather than an elaborate design that requires multiple paint colors. A few broad stripes can make a stronger visual statement than dozens of complicated shapes.
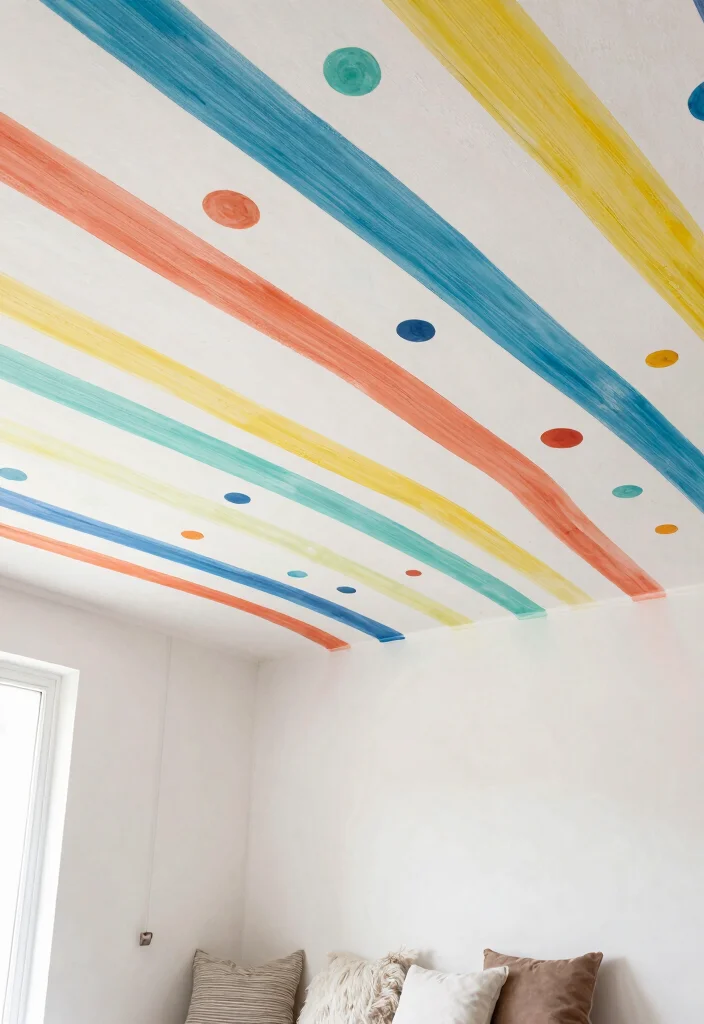
Image credit: @hometrendstudio.com
Amazon Find: Painter’s Tape for Clean Ceiling Lines
Quality painter’s tape helps create crisp borders for geometric patterns, stripes, and color-block designs. Choose a tape suitable for your ceiling finish and test it in an inconspicuous area.

2. Add Warm Wood Planks for a Custom Ceiling Look
Wood-plank ceilings bring warmth and natural texture to a room. The visible lines and wood grain can make an ordinary bedroom, dining room, or living room feel more architecturally detailed. Light oak and natural pine finishes create a relaxed Scandinavian appearance, while darker wood adds a rustic, cozy atmosphere.
Choose lightweight wood or wood-look panels specifically approved for ceiling installation. Plan the plank direction to suit the room’s proportions, then calculate coverage and additional material needed for cuts. Follow the product’s ceiling-mounting instructions, including the required fastening method and suitable structural supports. A neat perimeter finish helps the installation look intentional.
Money-saving idea: Cover only a dining nook or another defined ceiling section instead of the entire room. Avoid assuming that wall-only adhesive planks are safe overhead, and check fire-rating and building requirements before purchasing.
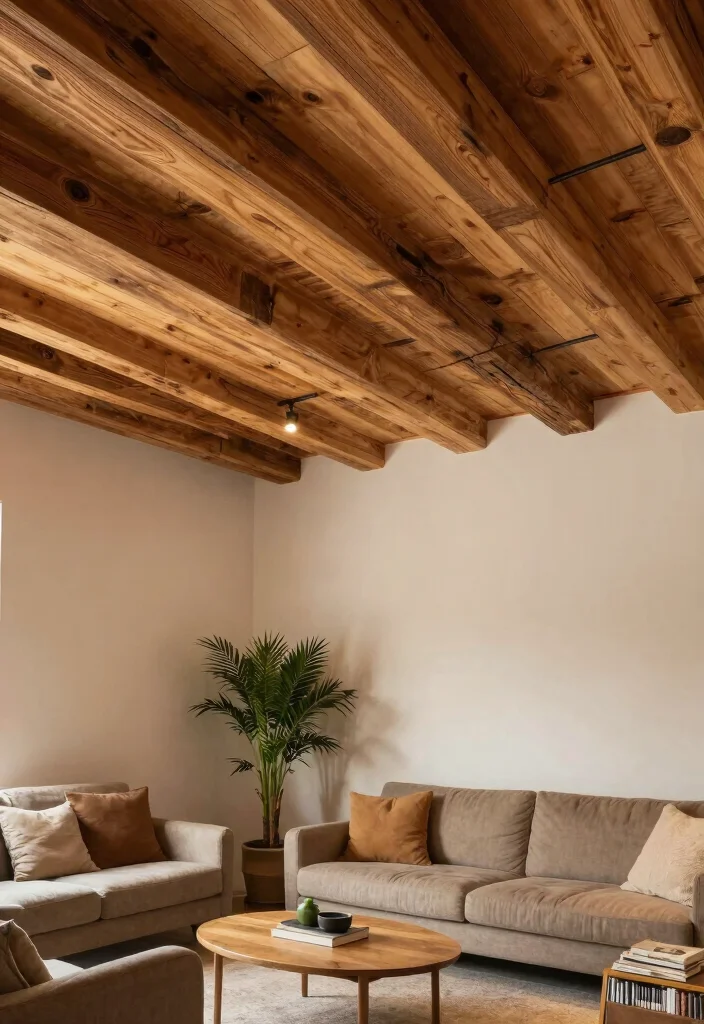
Image credit: @hometrendstudio.com
3. Create a Soft Draped Fabric Ceiling Accent
A softly draped fabric ceiling can give a bedroom or decorative corner a romantic, luxurious appearance. Flowing material introduces texture and movement, while muted fabrics such as ivory, champagne, and dusty pink create a dreamy look. This idea is especially attractive for temporary event styling or spaces with appropriately designed fabric installations.
Choose fabric suitable for overhead decorative use and a professionally rated attachment system. The material can be arranged in gentle folds across a designated area rather than covering the entire room. Keep the design simple and allow enough spacing to make the fabric appear airy rather than heavy. For a permanent residential installation, consult a qualified professional about fire regulations, attachment requirements, and maintenance.
Practical caution: Never drape fabric over lights, fans, detectors, sprinklers, or ventilation openings. Don’t use ordinary tape or adhesive hooks to suspend fabric overhead. An unsupported fabric canopy can fall, trap heat, or create a fire hazard.
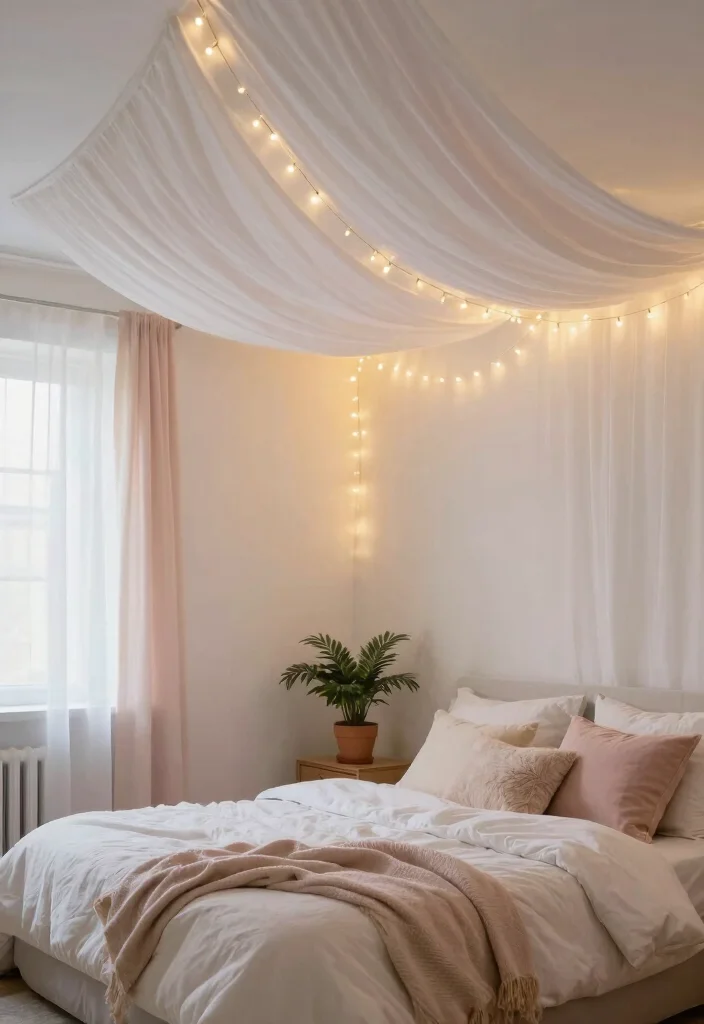
Image credit: @hometrendstudio.com
4. Install Vintage-Inspired Decorative Tin Ceiling Tiles
Decorative tin ceiling tiles can give an ordinary room the character of a historic townhouse or vintage-inspired restaurant. Their embossed patterns catch the light and introduce texture without requiring elaborate furniture or wall treatments. Antique white, muted copper, and warm metallic finishes look especially beautiful in dining rooms and traditional kitchens.
Look for lightweight ceiling-rated tiles designed for the mounting system you plan to use. Select a pattern that complements the size of your room; small repeating motifs can suit compact spaces, while larger panels can work in generous dining areas. Measure carefully, lay out the pattern from an appropriate reference line, and follow the manufacturer’s overhead installation requirements.
Styling tip: Use decorative tiles on a selected ceiling area to create a feature rather than covering every surface. Kitchen backsplash stickers are not automatically approved for ceiling use, so check both adhesion and applicable fire-performance requirements.
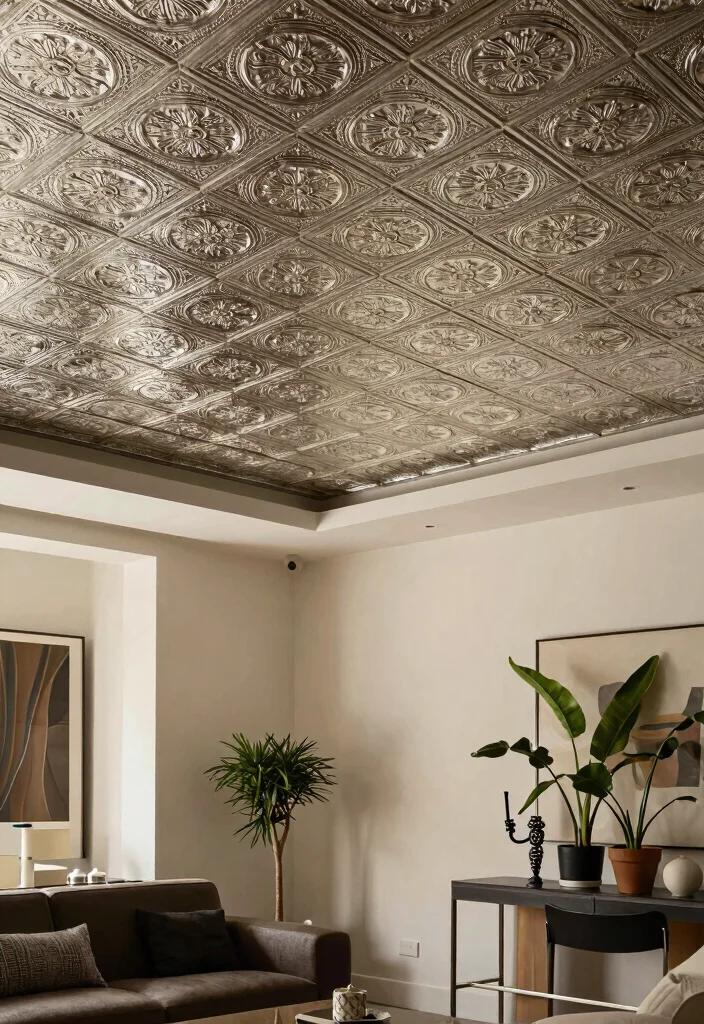
Image credit: @hometrendstudio.com
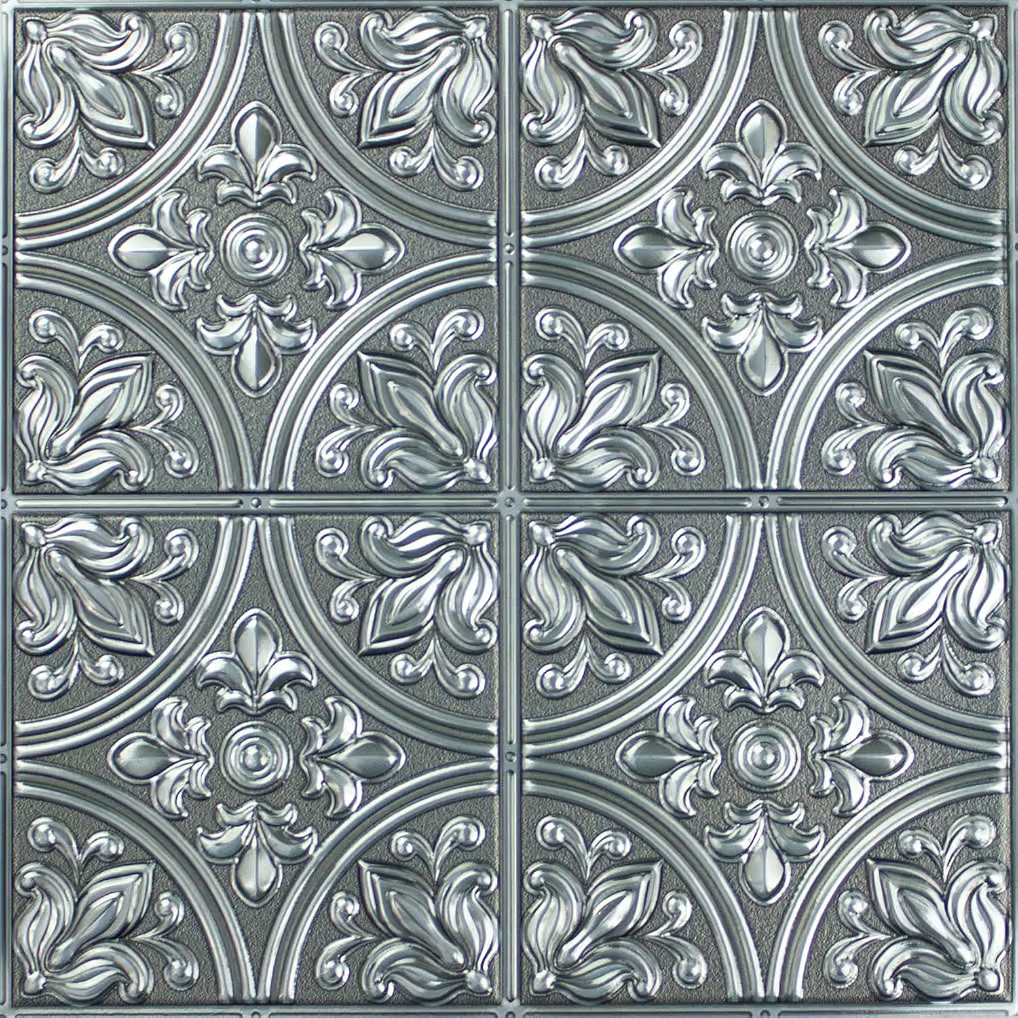
Amazon Find: Decorative Tin-Look Ceiling Tiles
Embossed ceiling panels can add vintage character to a plain room. Compare approved ceiling applications, panel dimensions, materials, and installation methods before choosing a design.
5. Cover the Ceiling with Beautiful Patterned Wallpaper
Wallpaper isn’t just for walls. A patterned ceiling can make a bedroom, dining area, or powder room feel like a carefully designed boutique space. Delicate florals add romance, subtle botanical prints bring a natural touch, and restrained geometric patterns create a modern statement without overwhelming the room.
Choose wallpaper that the manufacturer explicitly approves for ceiling application and make sure the ceiling is smooth, clean, dry, and suitable for the specified adhesive. Plan the pattern direction before cutting the paper and allow extra material for matching repeats. Work with another adult when handling long sheets so they can be supported and aligned properly overhead.
Budget tip: Use a beautiful print on a smaller ceiling section instead of wallpapering an entire large room. If you’re renting, don’t assume peel-and-stick wallpaper is ceiling-safe or damage-free; check product instructions and lease restrictions first.
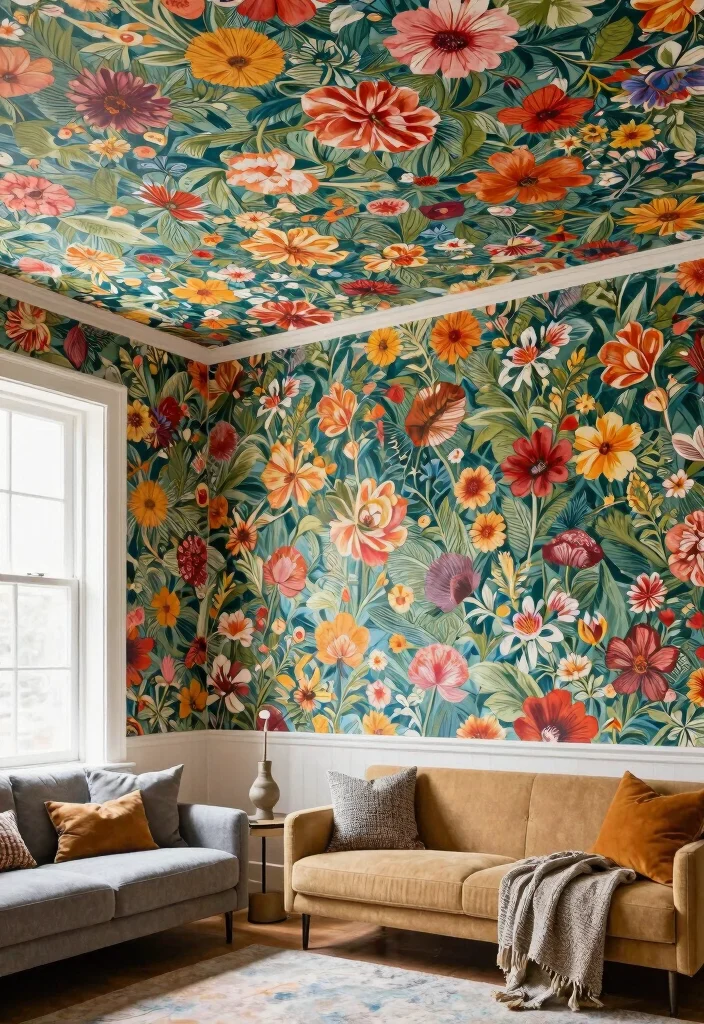
Image credit: @hometrendstudio.com
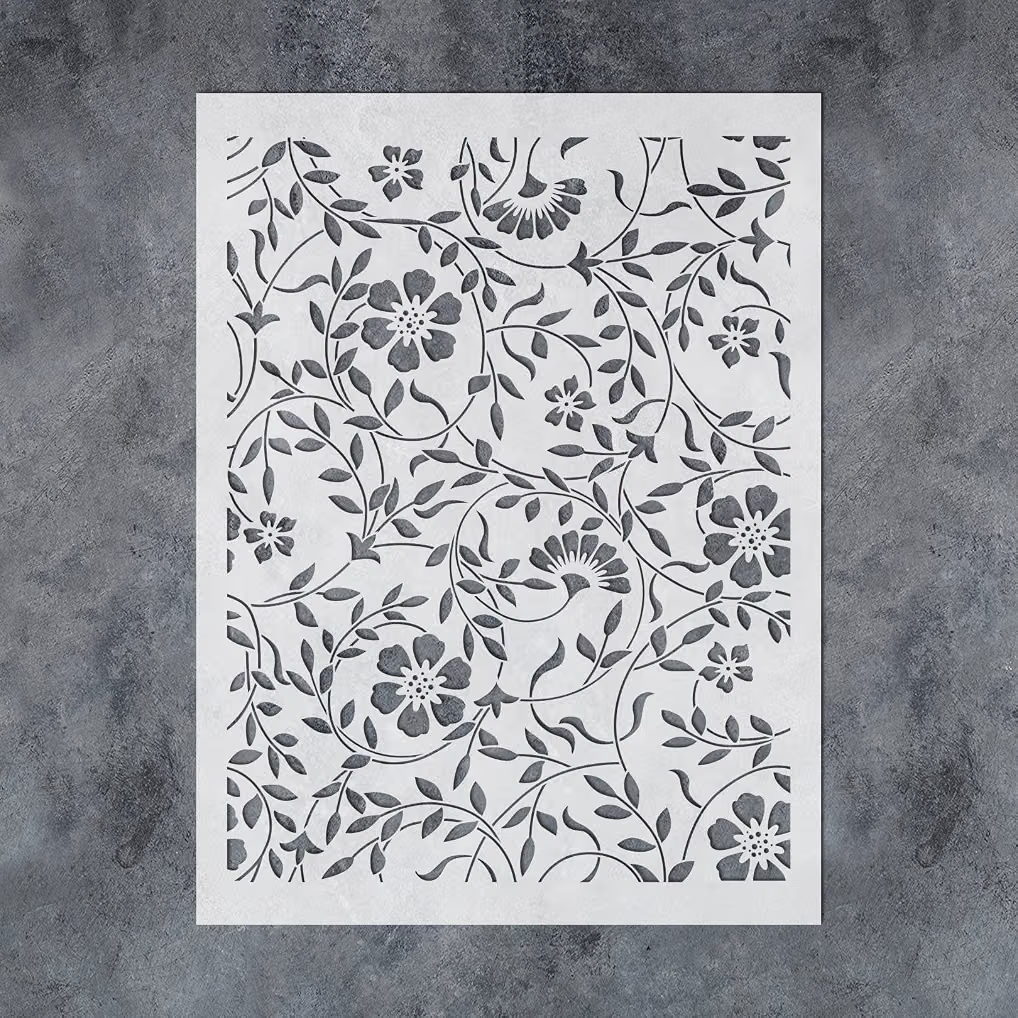
6. Use Stencils to Create an Expensive-Looking Ceiling Design
A stenciled ceiling can imitate the appearance of decorative plasterwork, classic wallpaper, or painted architectural detailing for a fraction of the effort involved in custom artwork. A simple repeating stencil can give a hallway, bedroom, or living room an elegant finish, particularly when the colors are subtle and the design is neatly spaced.
Choose a large stencil with a classic floral, geometric, or medallion-inspired pattern. Mark a starting point and layout grid so the repeated shapes remain evenly spaced. Secure the stencil with a removable method approved for your finish, then apply a small amount of ceiling-compatible paint using a stencil brush or suitable roller. Remove and clean the stencil as required before repeating the pattern.
Designer-style tip: Try warm white designs on an ivory base or muted taupe patterns on cream for a subtle look. Practice on a sample board before painting overhead, and avoid stretching awkwardly from a ladder.
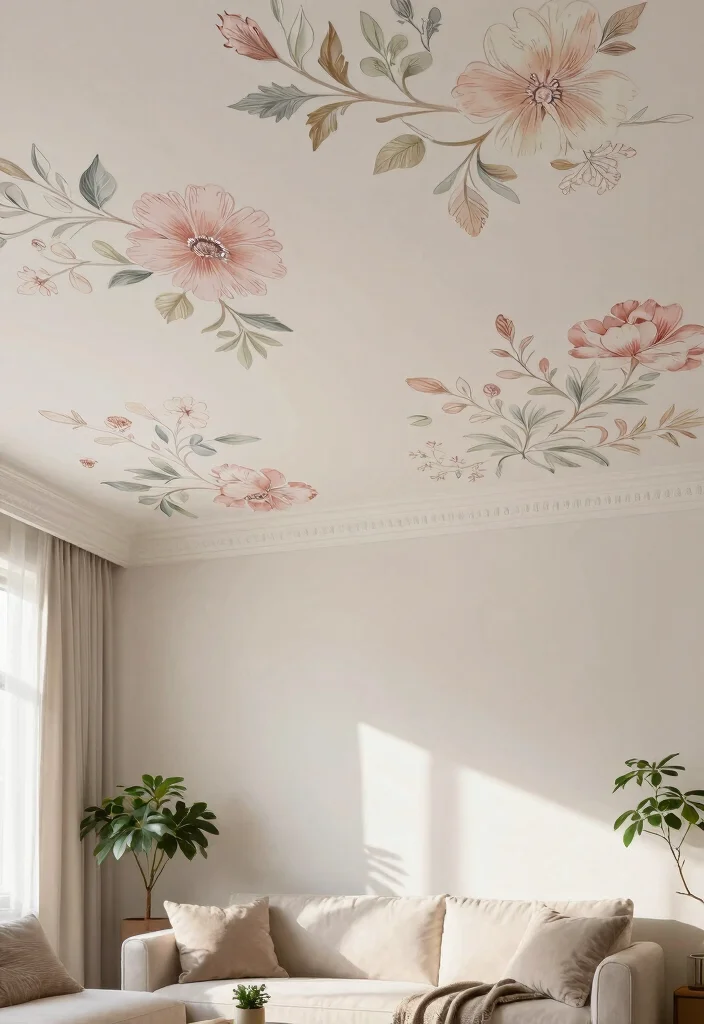
Image credit: @hometrendstudio.com
Amazon Find: Large Decorative Painting Stencils
Reusable stencils can help create consistent patterns without advanced painting skills. Look for a design large enough for your ceiling dimensions and suitable for repeated positioning.
7. Add Lightweight Faux Wood Beams for Architectural Character
Exposed wood beams are a beautiful architectural feature, but installing real structural timber can be costly and complicated. Lightweight decorative faux beams offer a way to create a similar visual effect in rooms where the ceiling and support system are suitable. They’re particularly attractive in farmhouse living rooms, vaulted spaces, and cozy dining areas.
Choose purpose-made nonstructural faux beams designed for ceiling use. Select a wood tone that coordinates with your flooring, furniture, or doors. Plan the number and spacing of beams carefully; two or three well-positioned beams often look more natural than a crowded arrangement. Installation should follow the manufacturer’s overhead fastening instructions and may require a professional to assess the existing structure.
Budget idea: Try a single decorative beam along a defined room feature instead of covering the entire ceiling. Faux beams are not load-bearing, and heavy or improperly secured materials can fall, so don’t attach them using ordinary adhesive alone.

Image credit: @hometrendstudio.com
8. Introduce Small Mirrored Ceiling Accents
Small reflective ceiling details can add a glamorous, Art Deco-inspired look to a room. Rather than covering the entire ceiling with mirrors, a restrained arrangement of reflective decorative elements can introduce sparkle and visual interest, especially when paired with warm lighting and elegant furniture.
For this idea, consider purpose-made lightweight reflective panels that are explicitly approved for overhead use. A small geometric arrangement in a hallway or dressing area can create a decorative focal point. Keep surrounding colors understated and repeat a metallic finish in nearby hardware or lighting for a cohesive appearance. Have the ceiling structure and mounting method assessed if there is any uncertainty.
Safety tip: Never glue ordinary glass mirrors or wall-only mirror tiles to the ceiling. Reflective materials installed overhead require suitable safety-rated products and fastening systems. For a simpler alternative, use metallic paint or decorative artwork on a vertical surface.
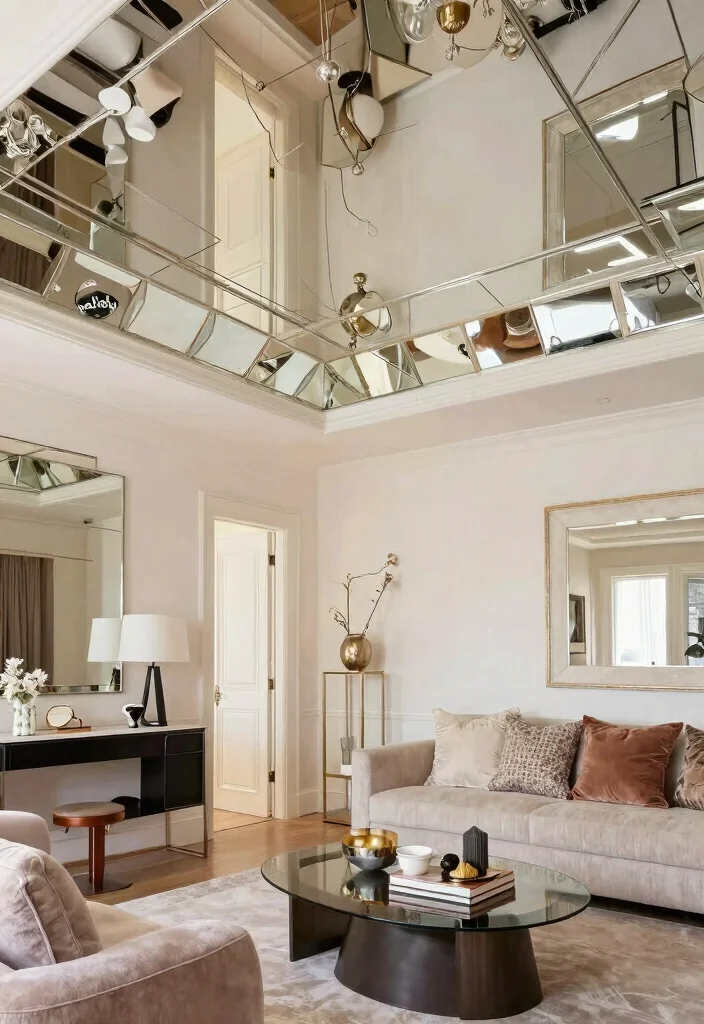
Image credit: @hometrendstudio.com
9. Frame the Ceiling with Decorative Crown Molding
Crown molding can make a simple room feel more finished by creating an elegant transition between the ceiling and walls. This classic architectural detail is especially effective in traditional living rooms, dining rooms, and bedrooms where the original ceiling edges feel plain or unfinished.
Choose a molding profile that suits the room’s proportions. Narrow, simple molding often works better in smaller rooms, while wider profiles can complement taller ceilings. Measure the perimeter carefully, account for corners and cuts, and use molding intended for the installation location. Finish the joints neatly and paint the trim to coordinate with the ceiling or walls.
Budget tip: Paint molding the same shade as the ceiling for a subtle built-in appearance. Choose lightweight profiles where appropriate, but still follow the required fastening instructions rather than relying on unapproved adhesives.
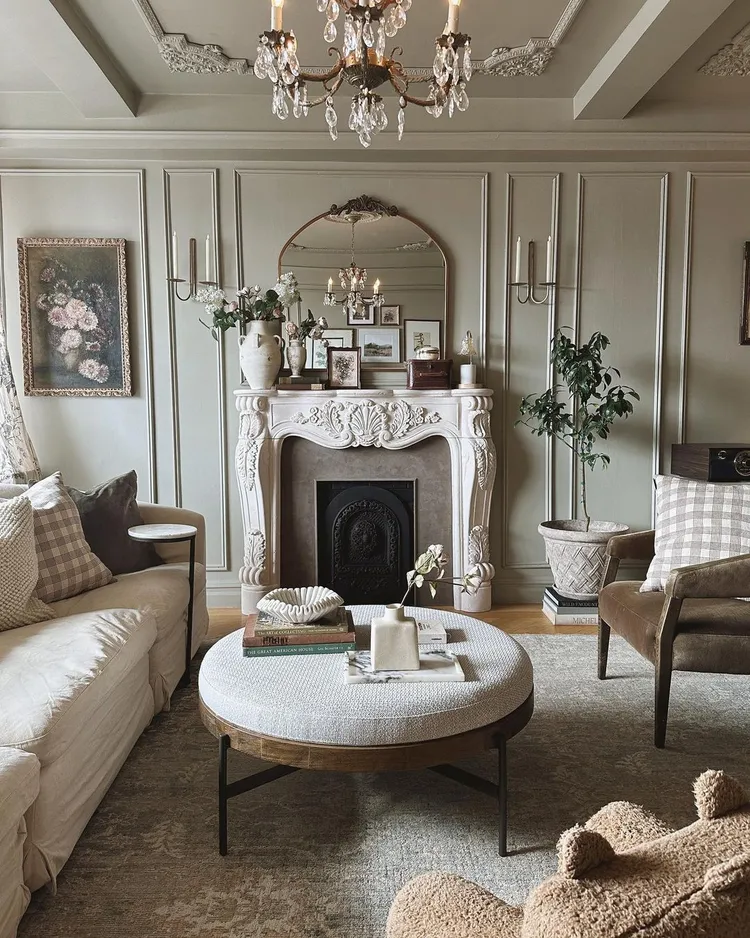
Image credit: @thespruce.com
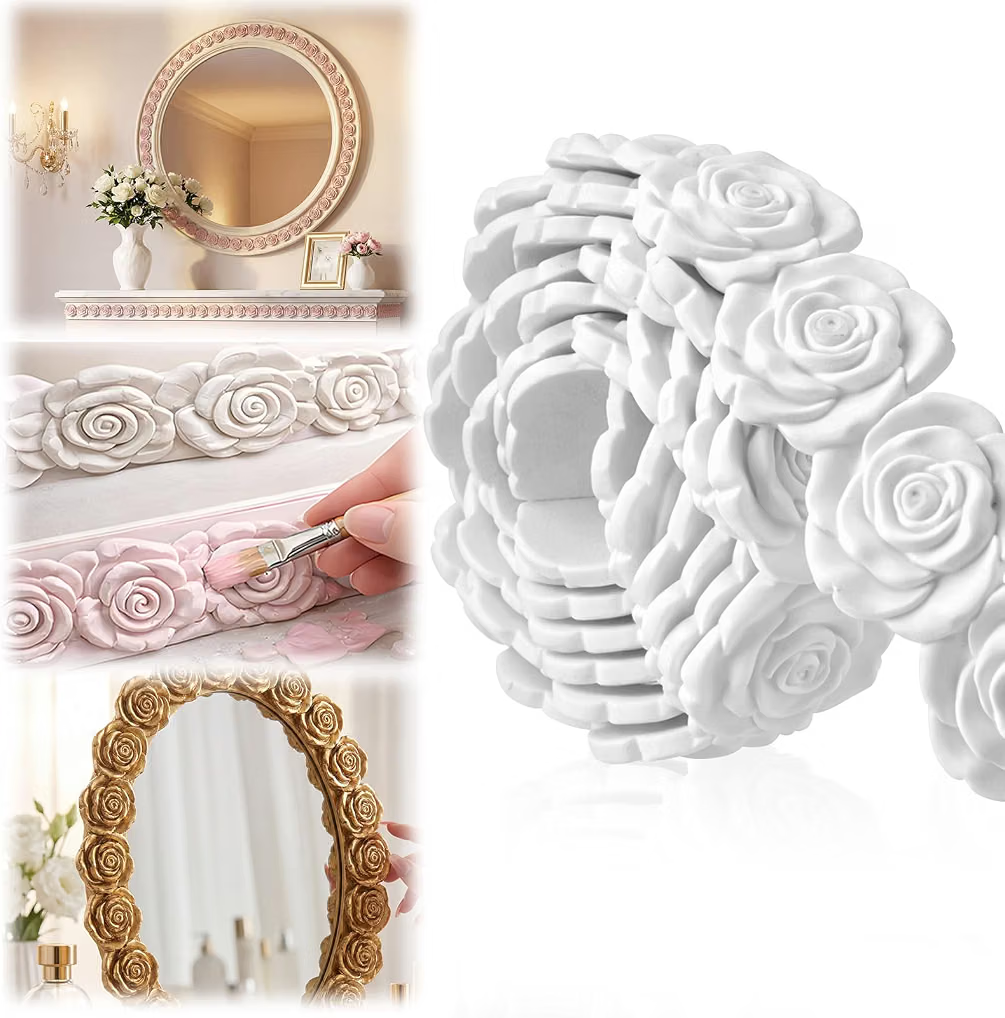
Amazon Find: Decorative Crown Molding Trim
Decorative trim can create a more polished transition between walls and ceilings. Look for materials approved for crown molding installations and suitable for your room dimensions.
10. Use Removable Star Decals for a Subtle Ceiling Makeover
Small decorative decals can make a ceiling feel interesting without requiring an elaborate renovation. A scattered star pattern is particularly charming in bedrooms, reading rooms, and playful spaces. For an elegant look, choose understated shapes in muted gold, pale silver, soft white, or a color that complements the existing ceiling.
Plan the arrangement on paper before applying anything overhead. Choose decals specifically rated for ceiling use, then follow the surface preparation and installation instructions. Arrange the stars in a loose constellation or a carefully spaced pattern rather than filling every inch. Keeping the scale small makes the design feel delicate rather than busy.
Renter-friendly tip: Check that your chosen decals are suitable for the existing paint and can be removed as required. Ceiling adhesives may fail or damage paint, so test first and never apply loose small decorations directly above a baby’s sleep area.

Image credit: @thespruce.com
11. Paint a Delicate Botanical Ceiling Mural
A botanical ceiling mural can bring the charm of a custom-painted home into an ordinary room. Soft branches, trailing leaves, and simple floral shapes create a peaceful, nature-inspired look that works beautifully in bedrooms, dining rooms, and cozy sitting areas. The design can be as minimal or detailed as your painting experience allows.
Start with a light neutral ceiling and sketch a loose botanical design on paper. Choose a small palette of muted sage, olive, cream, and soft earthy tones. Use artist brushes or suitable stencils to paint leaves and branches along the perimeter, allowing the center of the ceiling to remain relatively open. Work in manageable sections and step down regularly to check the overall balance.
Creative tip: Paint only one corner or the area surrounding a decorative ceiling feature for a more affordable, less demanding project. Use a stable work platform and take breaks to avoid prolonged overhead strain.

Image credit: @thespruce.com
12. Create a Dreamy Tulle Ceiling Canopy
Tulle brings a soft, airy appearance to decorative ceiling installations. Its translucent texture can create a romantic canopy effect without the visual weight of thick fabric. This style is especially popular for event spaces, photo areas, dressing rooms, and carefully designed decorative corners where a temporary fabric feature makes sense.
Choose tulle that meets the applicable requirements for overhead decorative fabric and plan the intended shape before installation. A restrained arrangement of gentle folds can look more sophisticated than an oversized canopy. For permanent or larger installations, use a properly designed support system installed by a qualified professional, ensuring that it doesn’t interfere with lighting, ventilation, alarms, or sprinklers.
Safety tip: Do not suspend tulle over a crib, bed, candle, hot fixture, or ceiling fan. Ordinary tulle may be flammable, and loose fabric can create entanglement hazards. A professionally installed event canopy is safer than an improvised overhead DIY system.
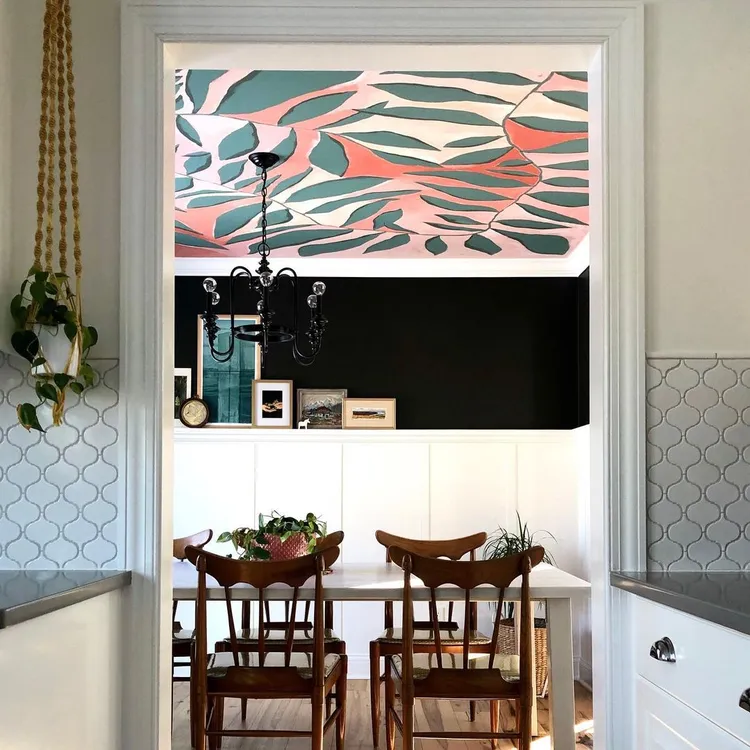
Image credit: @thespruce.com
13. Upgrade a Basement with Decorative Drop-Ceiling Tiles
A basic drop ceiling doesn’t have to make a finished basement feel like an office. Decorative ceiling panels with a subtle pressed pattern, geometric texture, or vintage-inspired design can add character to a family room, home theater, or basement lounge while retaining access to utilities above the grid.
If your basement already has a suitable suspended ceiling grid, look for replacement tiles that match its dimensions and system requirements. Choose light-colored panels for a brighter space or a restrained decorative pattern for a home theater. Replace damaged or unattractive panels according to the ceiling system instructions, making sure lights, ventilation, and required access areas remain functional.
Budget idea: Replacing only the visible tiles may be more practical than rebuilding the entire ceiling. Check fire ratings, moisture suitability, panel weight, and grid compatibility before purchasing replacements.

Image credit: @thespruce.com
Amazon Find: Decorative Drop Ceiling Panels
Decorative suspended-ceiling panels can refresh a finished basement or utility space. Check the exact grid dimensions, material specifications, and approved applications before ordering.
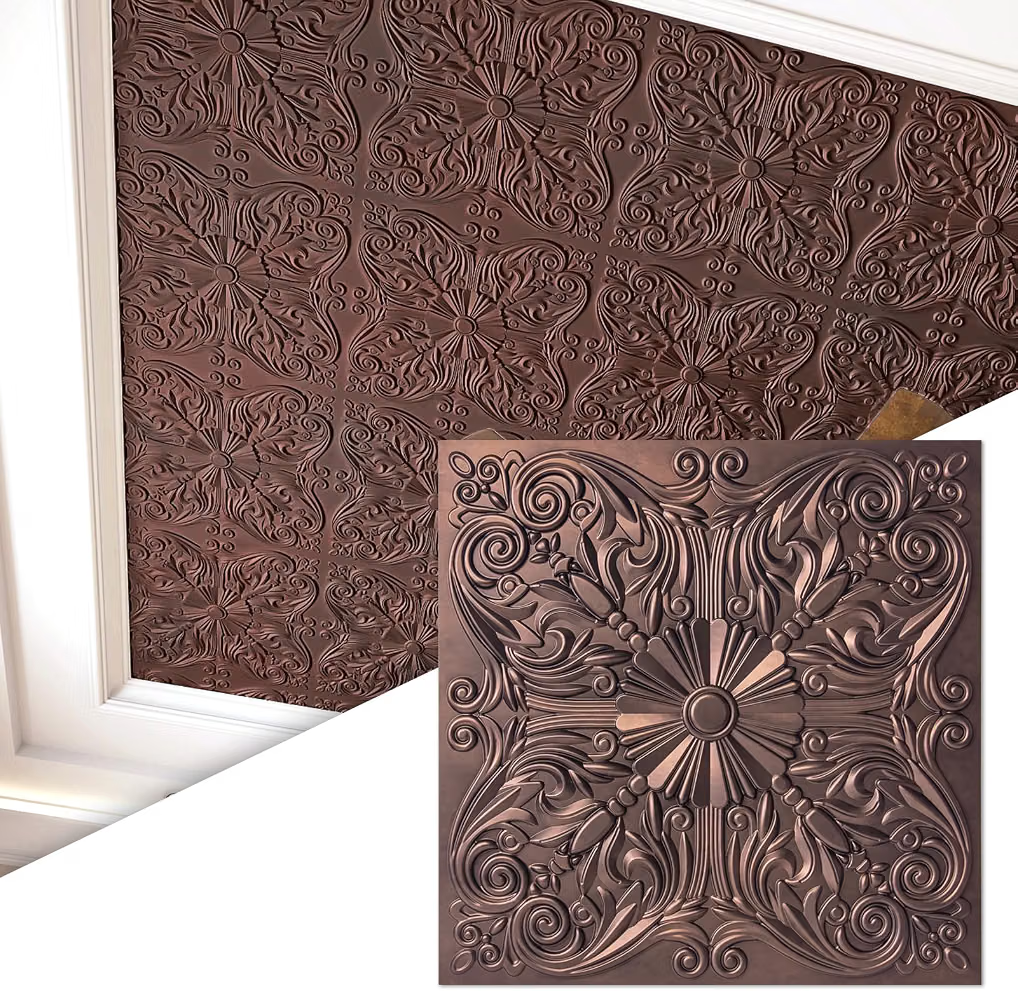
14. Create a Rustic Farmhouse Ceiling with Barnwood-Style Panels
Barnwood-style ceilings bring warmth, visible grain, and relaxed farmhouse character into a room. The weathered appearance can make a simple guest bedroom, den, or rustic living room feel cozy and collected. A mix of soft neutral walls and wood-inspired ceiling texture creates a beautiful contrast without requiring ornate decoration.
Choose lightweight barnwood-look panels or properly prepared wood materials specifically approved for overhead installation. Select a consistent finish, such as weathered oak or softly whitewashed wood, to avoid an overly busy appearance. Plan the plank orientation and joint pattern, then install according to the manufacturer’s fastening requirements and the ceiling structure’s capabilities.
Practical tip: Avoid using unknown reclaimed wood indoors without checking for lead paint, pests, contamination, and suitability. Wood-look panels can provide a similar visual effect with more predictable dimensions and installation requirements.
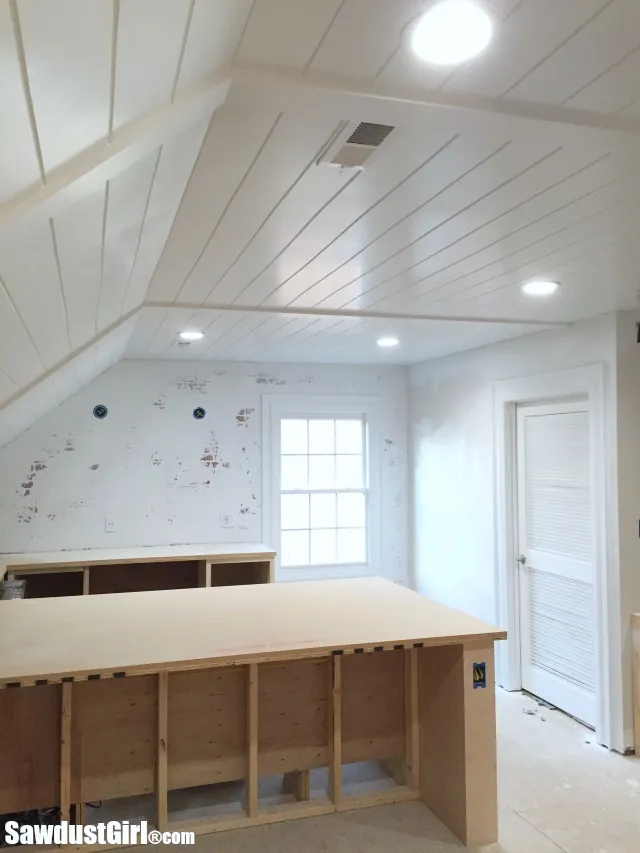
Image credit: @thespruce.com
15. Add a Decorative Ceiling Medallion Around a Light Fixture
A ceiling medallion is a classic detail that can make a simple pendant or chandelier look more substantial. Its circular pattern introduces architectural interest around a light fixture and works beautifully in dining rooms, bedrooms, entryways, and traditional living rooms. Even one thoughtfully sized medallion can make the ceiling feel more finished.
Choose a lightweight ceiling medallion with a profile that suits your fixture and room size. Consider painting it the same shade as the ceiling for a subtle, built-in appearance or using a contrasting finish to emphasize the decorative shape. Follow the installation instructions and use a qualified electrician for any work that requires removing or modifying an electrical fixture.
Styling tip: Pair a simple medallion with a modern pendant for an interesting mix of traditional and contemporary details. The medallion must not support the fixture’s weight, interfere with its electrical box, or violate the fixture’s required clearances.
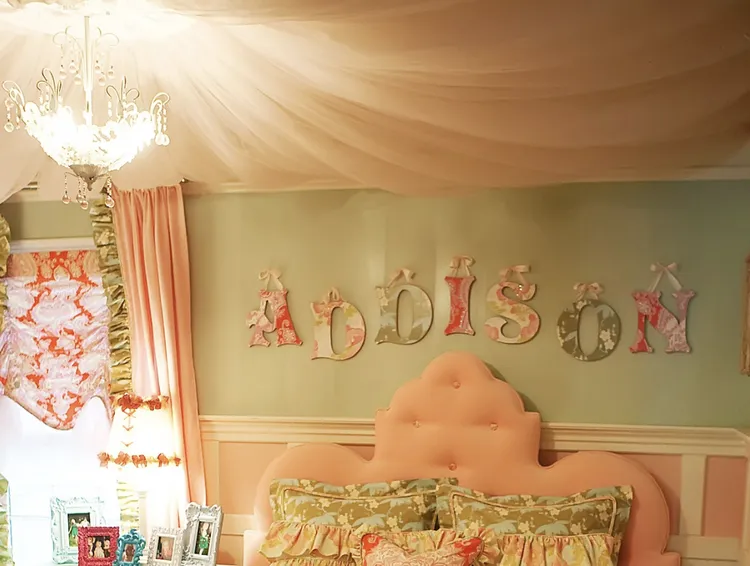
Image credit: @thespruce.com
Amazon Find: Lightweight Decorative Ceiling Medallions
A ceiling medallion can add classic architectural detail around an existing light fixture. Look for a compatible size and mounting system, and check all electrical clearance requirements.

16. Build the Look of a Custom Coffered Ceiling
Coffered ceilings are often associated with expensive traditional interiors, but their defining feature is a repeated grid of recessed-looking panels and raised trim. A simplified decorative version can bring similar architectural character to a living room, dining room, or home office without the cost of rebuilding the entire ceiling structure.
Begin by planning a balanced grid that suits the room’s dimensions. Choose appropriately rated lightweight decorative trim or a purpose-made coffered ceiling system, then map the panel layout carefully around existing lights and ventilation. Keep the grid simple, with consistent spacing and clean intersections. Painting the grid and panels in the same color can create a calm, seamless appearance.
Budget tip: A simplified rectangular grid often looks more polished than an elaborate design in a modest room. This is one of the more advanced projects on the list, and overhead framing, fastening, wiring, and building-code requirements may make professional installation the better option.
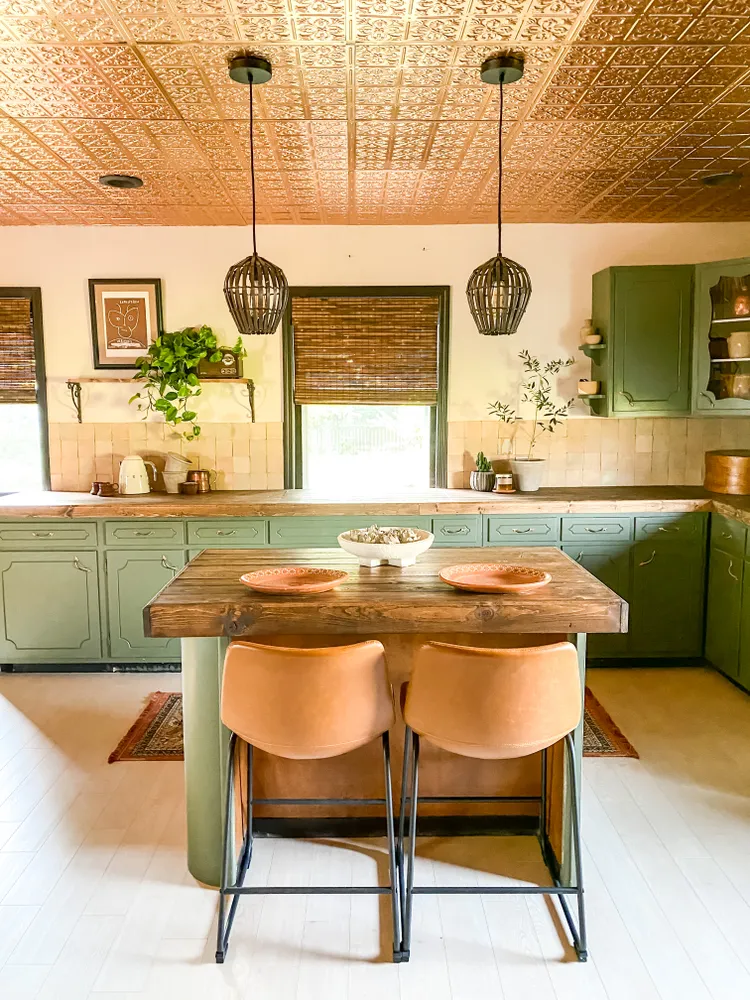
Image credit: @thespruce.com
Budget Ceiling Makeover Shopping Checklist
Before buying supplies, select your ceiling treatment and calculate the area you plan to cover. Not every material is suitable for overhead installation, so confirm the intended application and any relevant fire, electrical, structural, or moisture requirements before making a purchase.
| Supply | Best For | Priority |
|---|---|---|
| Ceiling-compatible paint | Painted patterns and murals | Essential for paint projects |
| Painter’s tape | Geometric patterns and borders | Recommended |
| Paint rollers and brushes | Ceiling paint and stenciling | Project-specific |
| Ceiling-approved wallpaper | Patterned feature ceilings | Project-specific |
| Ceiling-rated decorative tiles | Vintage or textured ceilings | Project-specific |
| Decorative molding | Classic architectural detailing | Optional |
| Ceiling-approved wood-look panels | Warm farmhouse ceilings | Project-specific |
| Decorative ceiling medallion | Light fixture detailing | Optional |
| Measuring tape and layout tools | Accurate spacing and alignment | Essential |
| Appropriate access equipment | Safe overhead work | Essential |
How to Choose the Right Budget Ceiling Idea for Your Home
The best ceiling treatment depends on the height of your room, the condition of the existing ceiling, and the amount of work you’re comfortable taking on. Start with the simplest option that achieves the look you want.
- For low ceilings: Choose a light paint finish, subtle stencil, or simple molding. Avoid bulky treatments that make the room feel visually lower.
- For bedrooms: Consider soft botanical patterns, muted wallpaper, or a warm wood-look accent for a relaxing atmosphere.
- For living rooms: Decorative crown molding, subtle faux beams, or a carefully planned coffered effect can add architectural character.
- For kitchens: Look for ceiling-rated finishes that suit the room’s moisture, heat, cleaning, and fire-safety requirements.
- For finished basements: Compatible decorative drop-ceiling tiles can improve the appearance while maintaining required access.
- For rental apartments: Start with furniture and lighting changes or request permission for a simple paint update. Avoid assuming overhead peel-and-stick products are safe or fully removable.
- For tall ceilings: Larger patterns, architectural molding, or professionally installed decorative beams may feel more proportionate.
Common Budget Ceiling Makeover Mistakes to Avoid
- Ignoring the existing ceiling condition: Covering water stains, peeling finishes, or damaged drywall without addressing the cause can lead to future problems. Repair underlying issues first.
- Using wall-only products overhead: Not all wallpaper, peel-and-stick tiles, wood panels, or adhesives are approved for ceilings. Choose products rated for the specific installation.
- Choosing an oversized pattern: Large, bold details can overwhelm smaller rooms. Consider ceiling height and room proportions before selecting a design.
- Skipping layout planning: Uneven tile spacing, misaligned molding, and poorly centered patterns can make a ceiling look unfinished. Measure and mark carefully before installation.
- Overloading the ceiling structure: Wood, metal tiles, decorative beams, and framed systems may require suitable framing and professional assessment.
- Blocking safety equipment: Never cover smoke detectors, sprinklers, vents, electrical boxes, or required access panels.
- Disturbing suspect asbestos materials: Older ceiling textures and some legacy materials may contain asbestos. Do not sand, scrape, drill, or demolish them until they have been properly evaluated.
- Forgetting electrical clearances: Keep fabric, wallpaper, molding, and other materials clear of light fixtures according to manufacturer and code requirements.
- Working overhead unsafely: Use suitable access equipment on stable flooring and avoid overreaching or carrying heavy materials on a ladder.
Frequently Asked Questions About Budget Ceiling Ideas
1. What is the cheapest way to make a ceiling look expensive?
A fresh coat of ceiling paint is often one of the most affordable starting points, especially if the surface is already in good condition. A carefully selected color, simple painted border, or subtle stencil can add personality without buying heavy materials or changing the room’s structure.
2. Can I put peel-and-stick wallpaper on a ceiling?
Some wallpaper products are approved for ceiling application, but many peel-and-stick products are designed primarily for vertical surfaces. Check the manufacturer’s intended use, surface requirements, adhesive strength, and removal guidance before installing. Never assume a wall-safe product will remain securely attached overhead.
3. What ceiling design makes a small room look bigger?
Light finishes, restrained patterns, and simple trim can help a small room feel more open. A ceiling that visually coordinates with the walls can also reduce harsh boundaries. Avoid heavy beams, excessively ornate designs, and large patterns if the existing ceiling is particularly low.
4. Are decorative ceiling tiles cheaper than replacing drywall?
Decorative tiles may be economical when the existing ceiling is structurally sound and the new materials are compatible with it. However, total costs depend on the panels, mounting system, labor, and necessary repairs. Tiles should never be used to conceal unsafe or deteriorating ceiling materials.
5. Which budget ceiling treatment is best for a beginner?
Painting a sound, accessible ceiling is often a practical beginner project. A simple color update or limited stencil pattern requires fewer specialized skills than installing panels, molding, or beams. Always use appropriate access equipment, prepare the surface correctly, and follow paint instructions for safe application and ventilation.
Recommended Budget Ceiling Makeover Finds on Amazon
If you’re planning a ceiling makeover, these Amazon searches can help you compare practical supplies and decorative finishes. Make sure every material is appropriate for overhead installation before purchasing.
- Large Decorative Painting Stencils: Useful for creating repeating ceiling patterns and painted details without advanced artistic skills.
- Decorative Tin-Look Ceiling Tiles: An option for introducing vintage-inspired texture when the product is rated for the intended ceiling installation.
- Lightweight Ceiling Medallions: A classic decorative detail that can make an existing light fixture look more thoughtfully integrated into the room.
Final Thoughts on Budget Ceiling Ideas That Look Expensive
The most beautiful budget ceiling ideas that look expensive aren’t always the most complicated. Simple painted patterns, decorative molding, ceiling wallpaper, wood-look panels, and carefully chosen architectural details can make a plain room feel far more finished without requiring an extravagant decorating budget.
Start with one room and choose a ceiling treatment that complements its proportions, lighting, and overall style. Prioritize sound surfaces, suitable materials, and secure installation, then focus on clean lines and thoughtful finishing details. With the right approach, even a modest ceiling update can become one of your home’s most attractive features.
