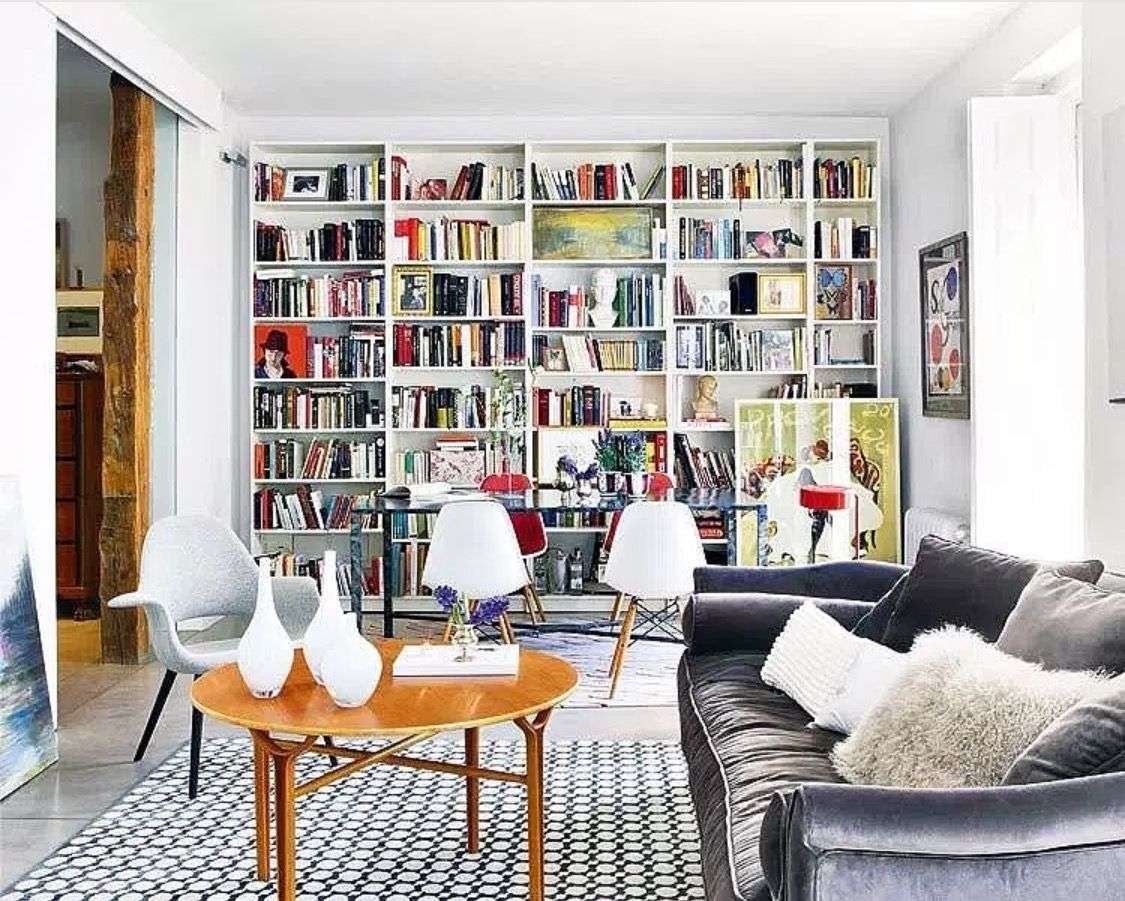
Picture ledges are one of the easiest ways to decorate an empty wall without committing to a complicated gallery arrangement. These slim shelves let you display framed photographs, artwork, books, and small decorative pieces while giving you the freedom to rearrange everything whenever you want a fresh look.
These 16 picture ledge layout ideas include symmetrical shelves, staggered arrangements, layered artwork, modern black-and-white galleries, cozy neutral displays, and creative layouts for living rooms, bedrooms, kitchens, and reading corners. Whether you love minimalist decorating or a more collected, eclectic style, you’ll find practical ways to make your picture ledges look balanced, personal, and beautifully styled.
Quick List: 16 Creative Picture Ledge Layout Ideas
- Arrange two matching picture ledges in a symmetrical layout
- Create a modern staggered picture ledge display
- Layer framed artwork for a collected gallery look
- Combine framed art, books, and decorative objects
- Design a timeless black-and-white picture ledge gallery
- Style one long picture ledge above your sofa
- Create a soft neutral picture ledge arrangement
- Display personal photographs and eclectic artwork
- Contrast white picture ledges against a dark wall
- Build a front-facing children’s book display
- Cover a feature wall with three long picture ledges
- Decorate an awkward reading nook with short ledges
- Organize craft supplies with practical picture ledges
- Create a balanced living room artwork display
- Refresh bathroom walls with small picture ledges
- Design an oversized picture ledge gallery around your TV
How to Arrange Picture Ledges Like a Designer
Before installing picture ledges, decide what you want the display to achieve. A pair of matching ledges creates a tidy, symmetrical appearance, while staggered shelves make a wall feel more relaxed and contemporary. If you have a collection of photographs or artwork in different sizes, layered picture ledges provide an easy way to arrange them without measuring individual hanging positions.
Start by measuring the available wall space and choosing shelves that suit the furniture beneath them. In most rooms, the overall ledge arrangement should feel visually connected to the sofa, bed, desk, or console rather than floating awkwardly across the wall.
Choose two or three frame finishes, repeat a few colors from your room, and mix artwork heights to create depth. Always use picture ledges with a retaining lip and install them according to the manufacturer’s weight limits and mounting instructions. Large, breakable, or heavy frames should be independently secured where necessary.
Simple picture ledge styling formula: One large anchor frame + two or three smaller frames + one subtle decorative accent + a little empty space.
Picture Ledge Layout Planning Guide
| Layout Style | Best Location | Key Styling Detail |
|---|---|---|
| Symmetrical Pair | Living room or bedroom | Matching ledge lengths and aligned edges |
| Staggered Ledges | Modern living room | Offset shelves with balanced artwork |
| Layered Gallery | Bedroom or family room | Overlapping frame sizes and heights |
| Black-and-White | Hallway or contemporary room | Monochrome prints and repeated frames |
| Long Single Ledge | Above a sofa or sideboard | One dominant artwork with smaller pieces |
| Children’s Book Display | Kids’ room or playroom | Front-facing books on shallow ledges |
| Reading Nook | Small alcove or corner | Short shelves with cozy artwork |
| Oversized Gallery | Large living room wall | Multiple long ledges and large-scale frames |
16 Picture Ledge Layout Ideas to Try in Your Home
1. Create a Balanced Gallery With Two Matching Picture Ledges
Two identical picture ledges arranged one above the other create a clean, balanced wall display. This layout is especially attractive when you prefer simple decorating and want artwork to feel organized rather than scattered across the wall.
Choose two wooden or painted shelves of equal length and install them with their outside edges aligned. Leave enough vertical room for the tallest frames on the lower shelf without touching the upper one. Arrange two or three frame sizes across both levels, repeating a similar color palette to connect the display.
For a warm Scandinavian look, combine pale oak ledges with cream mats, simple botanical artwork, and black-and-white photographs. Avoid filling every inch of the shelves; a little open space gives the arrangement a calmer appearance.
Layout tip: Center the two ledges over a console, dresser, or other furniture piece for a particularly polished look.
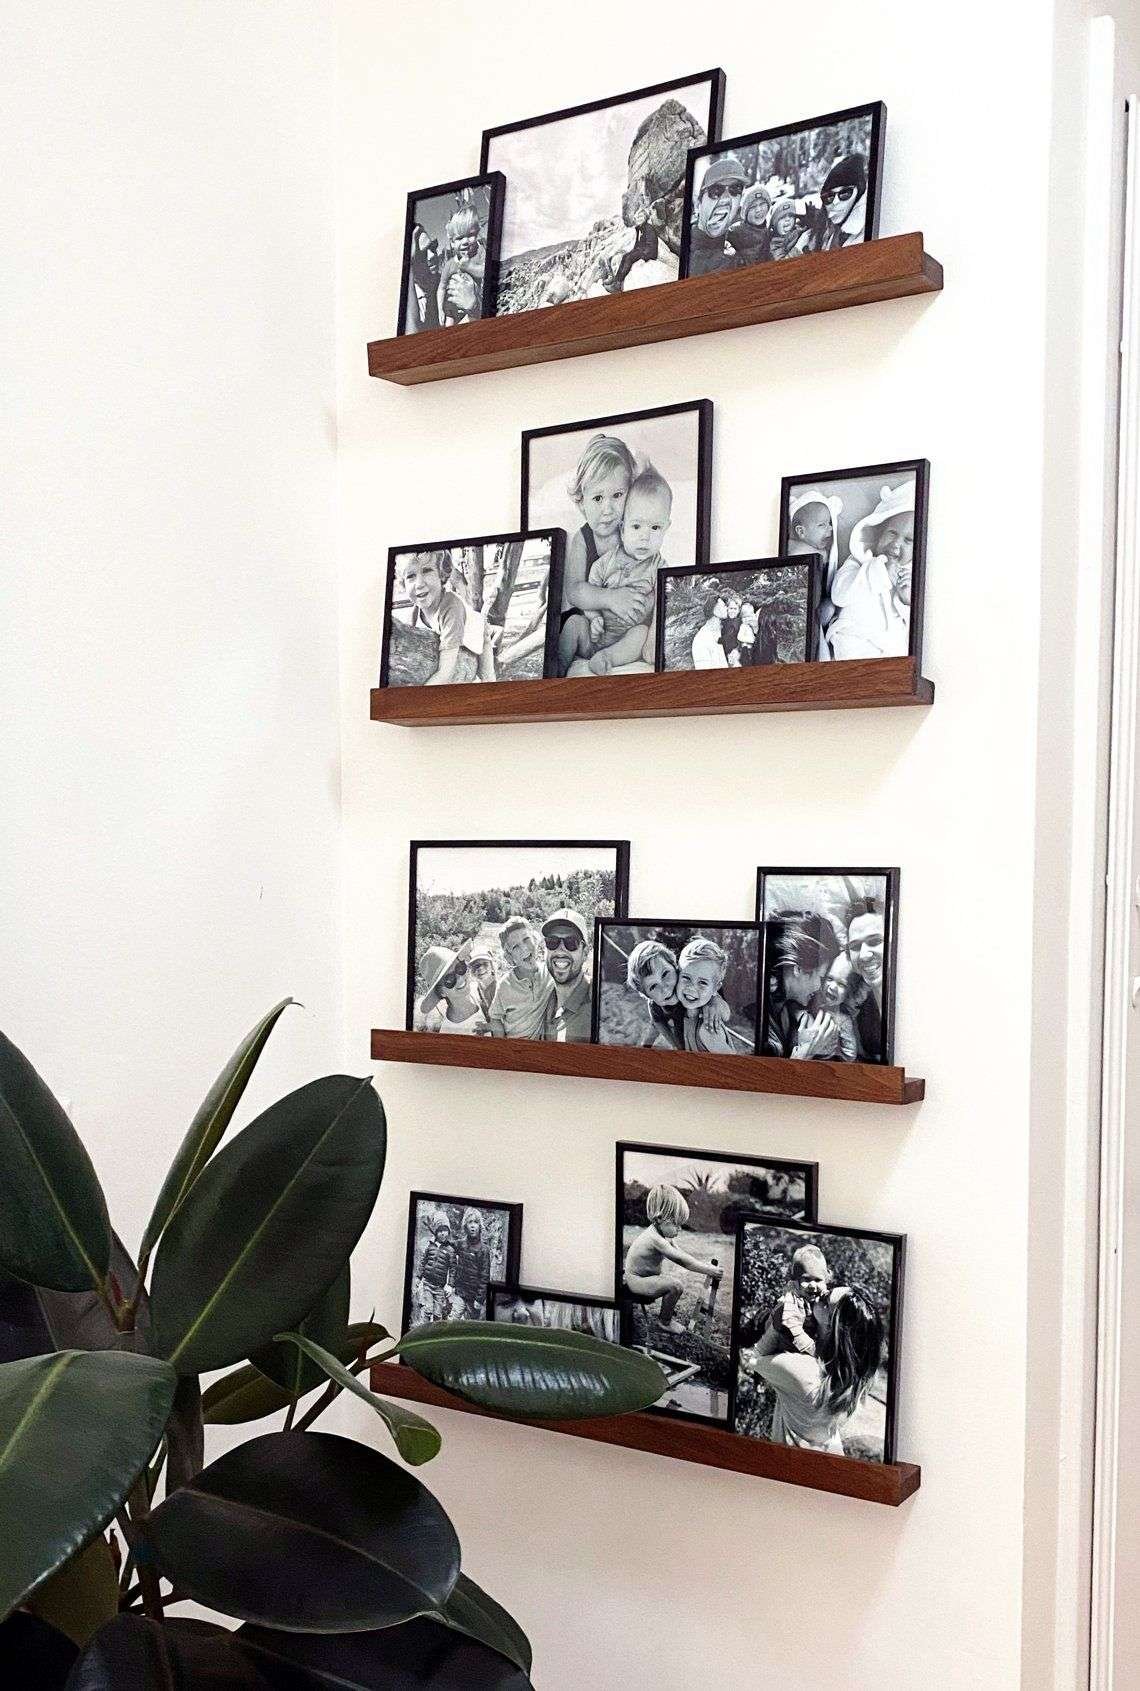
Image Credit: @diycozyliving.com
Amazon Find: Matching Wooden Picture Ledge Shelves
Explore matching picture ledges in natural wood, white, or black finishes for a coordinated two-shelf gallery arrangement.
2. Arrange Staggered Picture Ledges for a Modern Asymmetrical Look
Staggered picture ledges bring movement and visual interest to an otherwise plain wall. Rather than lining every shelf up perfectly, this design shifts one ledge slightly to the left or right for a more contemporary and relaxed appearance.
Use two ledges in different lengths, placing the longer one below and the shorter one above at an offset. Decorate the bottom ledge with larger frames and a few darker accents, then keep the upper shelf lighter with smaller prints or simple line drawings.
This arrangement works particularly well above an off-center sideboard, beside a sectional sofa, or on a wall where a perfectly symmetrical display would feel too formal. Keep the frame colors consistent so the different ledge positions still look connected.
Styling tip: Repeat one artwork color on both shelves, such as muted blue or warm terracotta, to balance the staggered arrangement.
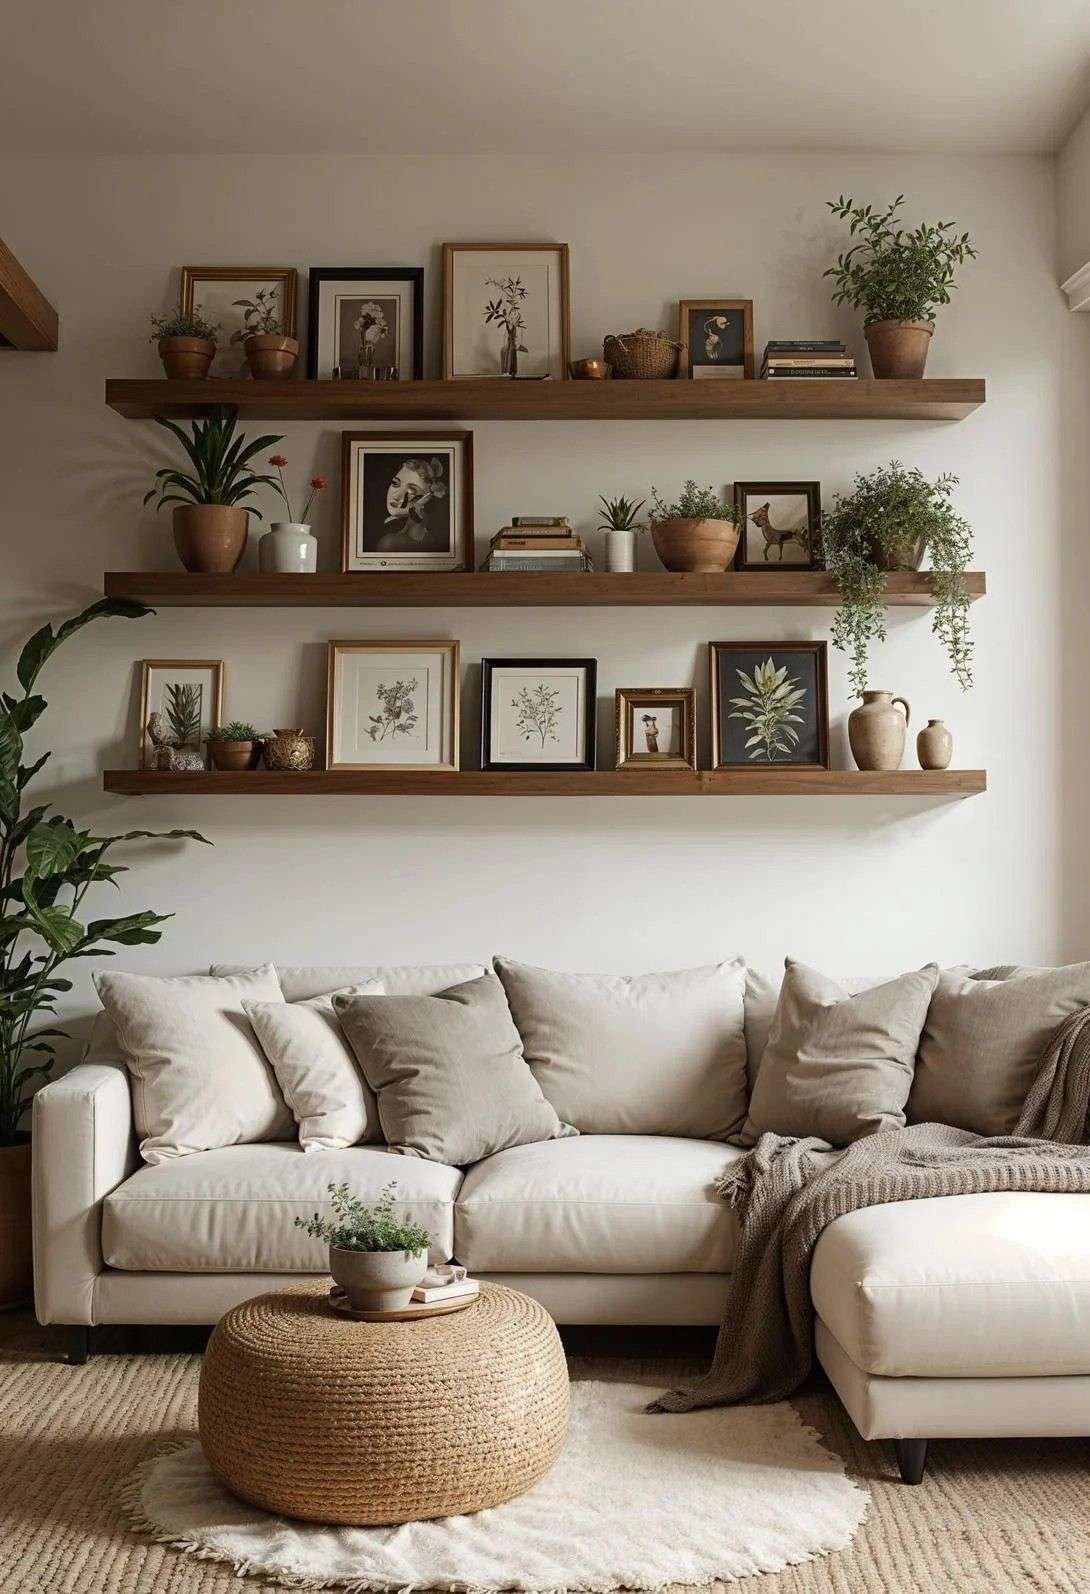
Image Credit: @diycozyliving.com
3. Layer Different Frame Sizes for a Collected Gallery Look
Layering framed artwork is one of the most appealing ways to style a picture ledge. Instead of placing every frame in a separate position, overlap them slightly to create a casual display that feels like it has developed naturally over time.
Begin with one tall frame near the back of the ledge. Place a medium frame partially in front of it, then add one or two smaller pieces at different angles. Mix vertical and horizontal artwork to avoid creating a straight line across the display. Simple landscapes, abstract prints, and personal photographs work beautifully together when they share related colors.
Choose a ledge deep enough for the overlapping frames and make sure each piece remains securely supported by the shelf’s front lip. Use lightweight frames for casual layered arrangements and secure larger pieces independently.
Decorating tip: Allow part of the larger artwork to remain visible behind the smaller frames. Overlapping too much can make the display feel crowded.
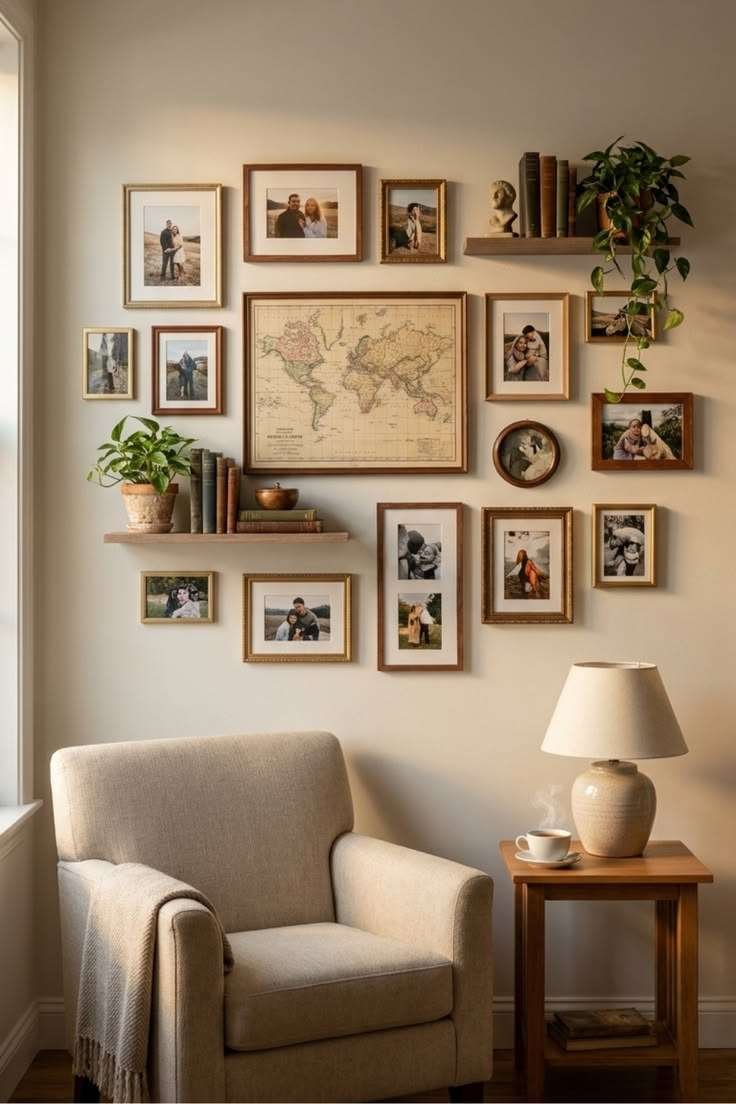
Image Credit: @diycozyliving.com
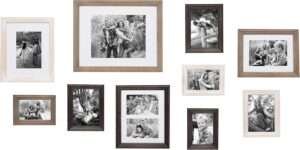
Amazon Find: Mixed-Size Gallery Wall Picture Frames
A coordinated selection of frames in different sizes makes it easier to create layered artwork arrangements while maintaining a consistent style.
4. Mix Framed Artwork With Books and Decorative Accessories
Picture ledges aren’t limited to photographs. Mixing artwork with books, small plants, and decorative objects adds personality and makes the display feel more like a carefully styled part of the room.
Begin with two or three framed prints in complementary colors. Lean a slim book against one frame, add a small ceramic vase beside another, and introduce a miniature potted plant where the shelf depth and light conditions allow it. Keep the objects relatively low so they don’t compete with the artwork.
A natural oak ledge with neutral artwork, a cream vase, and a few linen-covered books creates a soft modern look. For something more eclectic, mix vintage frames, colorful book covers, and small collected objects. Always consider the combined weight and stability of everything displayed.
Styling formula: Two framed prints + one small book + one lightweight decorative object creates an attractive starting arrangement.
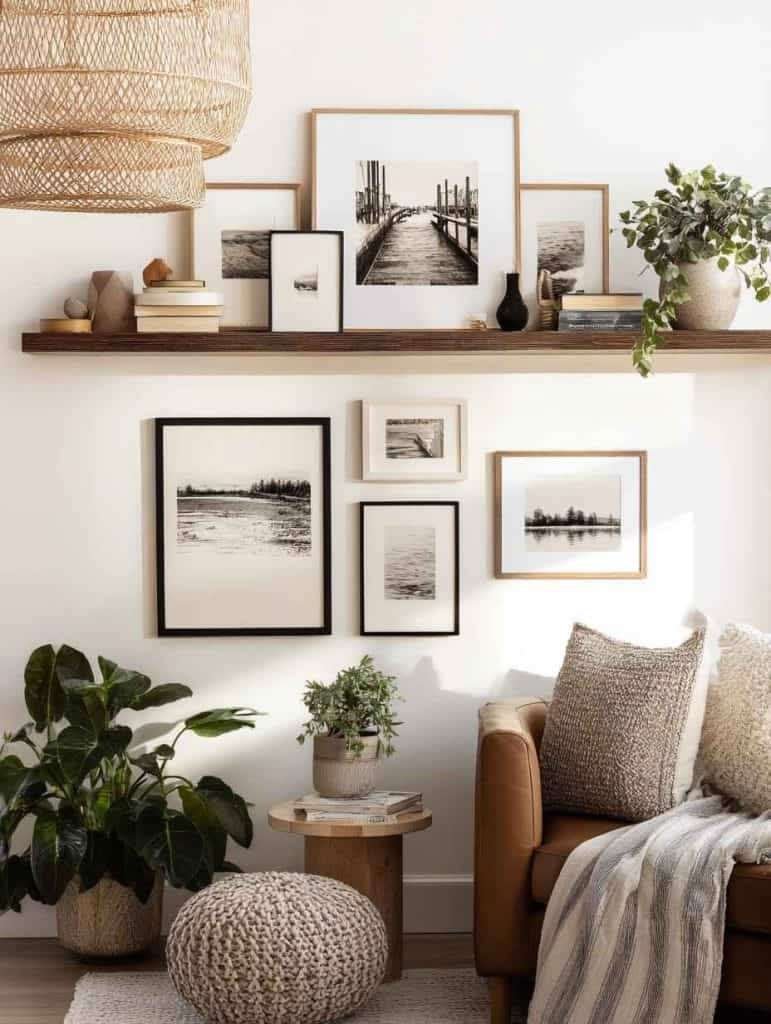
Image Credit: @diycozyliving.com
5. Create a Timeless Black-and-White Picture Ledge Gallery
A black-and-white picture ledge arrangement gives almost any room a clean, gallery-inspired appearance. The limited color palette allows different photographs and artwork styles to sit together without making the wall feel visually busy.
Choose black frames with white matting and fill them with monochrome photographs, line drawings, abstract prints, or architectural images. Arrange the frames on one or two ledges, alternating between portrait and landscape orientations. Place one larger artwork near the center and surround it with smaller pieces for a balanced composition.
White picture ledges blend beautifully with light walls, while black ledges introduce extra contrast. You can add one small brass-colored accessory if you want a subtle touch of warmth without changing the overall monochrome design.
Gallery tip: Keep the framing consistent, but vary the image subjects. This creates a more interesting display while preserving the classic black-and-white aesthetic.
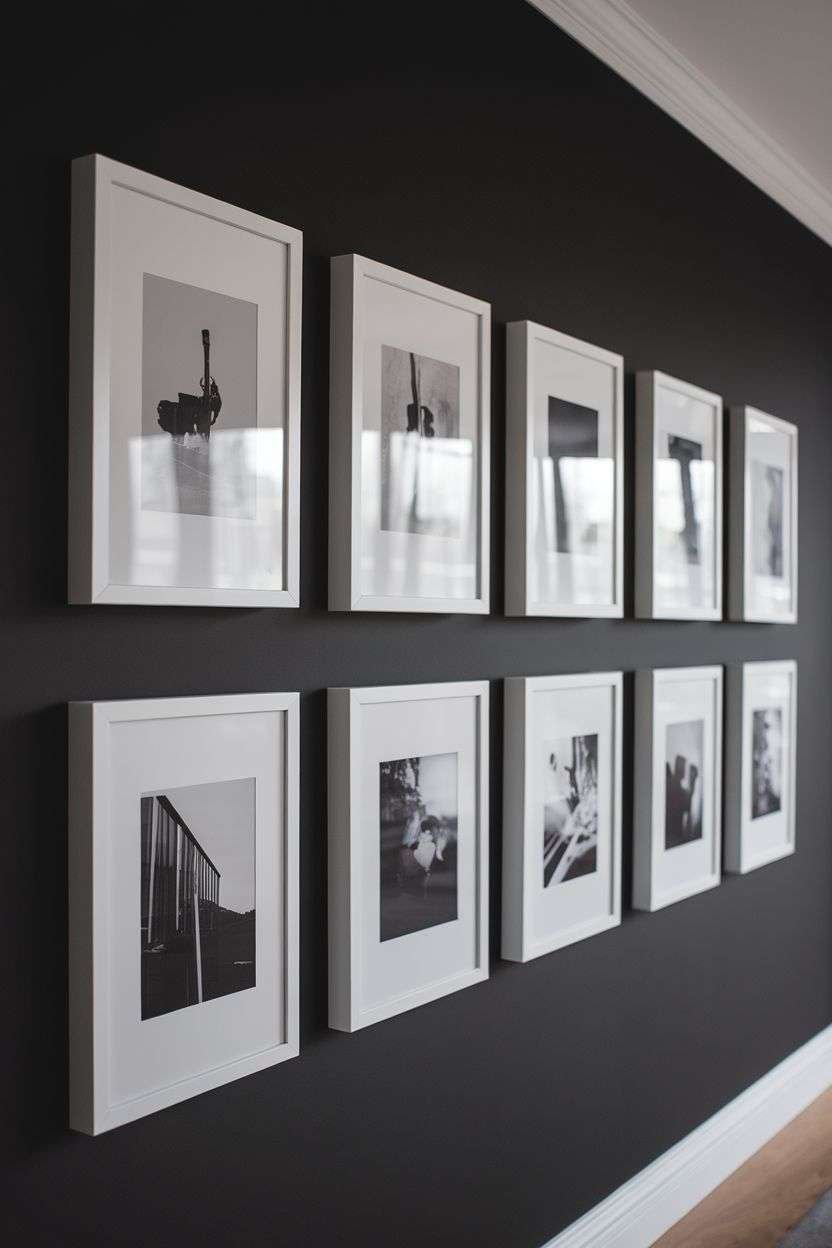
Image Credit: @diycozyliving.com
6. Style One Extra-Long Picture Ledge Above the Living Room Sofa
An extra-long picture ledge above the sofa creates a strong focal point without requiring a traditional gallery wall. Its horizontal shape complements the width of the seating and helps fill an otherwise empty wall with artwork that can be refreshed easily.
Choose a ledge that looks proportional to your sofa rather than spanning the entire wall. Place one large framed print near the middle, then arrange two or three smaller pieces toward the ends. Use artwork colors that repeat elements from your throw pillows, curtains, or rug for a coordinated look.
Keep the display high enough that people won’t bump their heads when sitting or standing. Install the shelf into suitable supports and independently secure any substantial frames so they cannot fall onto the seating below.
Living room tip: Large landscape prints and simple horizontal artwork work particularly well with the long shape of the shelf.
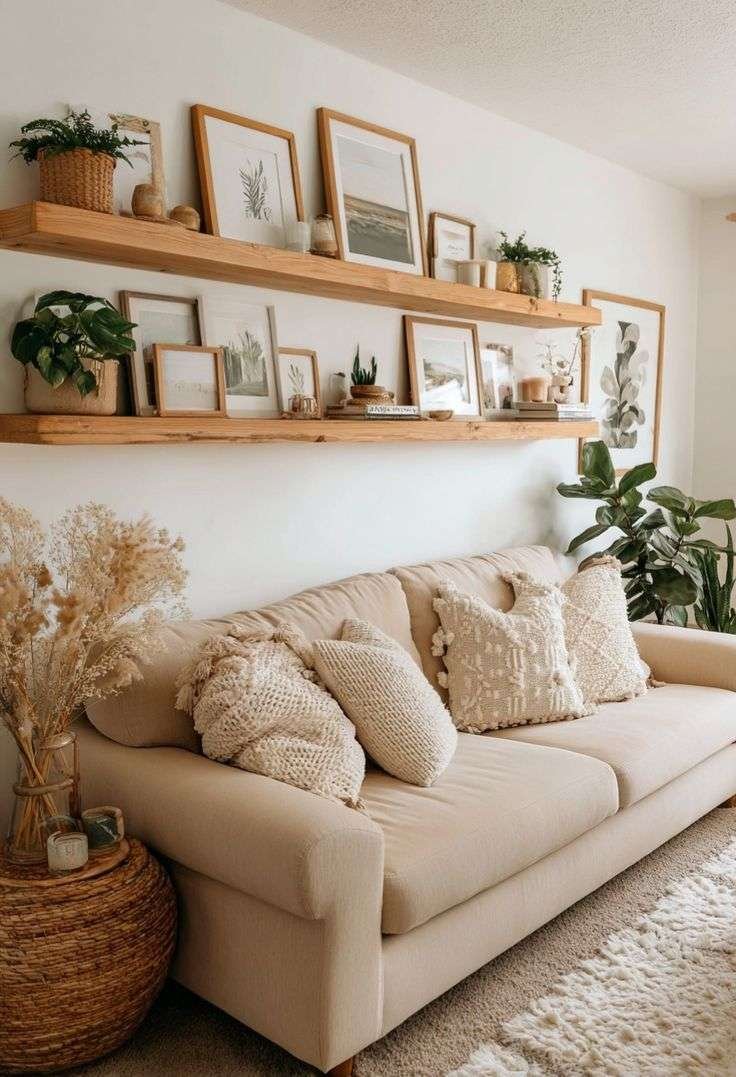
Image Credit: @diycozyliving.com
Amazon Find: Extra-Long Floating Picture Ledge
A long picture ledge can create a continuous art display above a sofa or sideboard. Check shelf length, wall mounting requirements, and weight ratings before installation.
7. Design a Soft Neutral Picture Ledge With Natural Wood and Cream Artwork
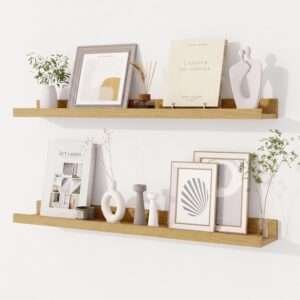
A neutral picture ledge arrangement is ideal for bedrooms, cozy reading corners, and minimalist living rooms. Rather than relying on bold colors, this look uses gentle contrasts between natural wood, warm white, linen textures, and soft beige artwork.
Choose light oak or natural pine picture ledges and pair them with cream, sand, and pale gray prints. Botanical sketches, abstract line drawings, and softly colored landscapes work beautifully together. Use simple wood or white frames, then add one small ceramic accessory or dried floral detail to introduce texture.
Keep the arrangement loose and understated. Two slightly overlapping frames and a small neutral object can be more attractive than a crowded shelf. This style looks especially comfortable against oatmeal, warm white, or mushroom-beige walls.
Cozy styling tip: Repeat the wood finish of your picture ledges in nearby furniture, such as a bedside table or dresser, to connect the display with the room.
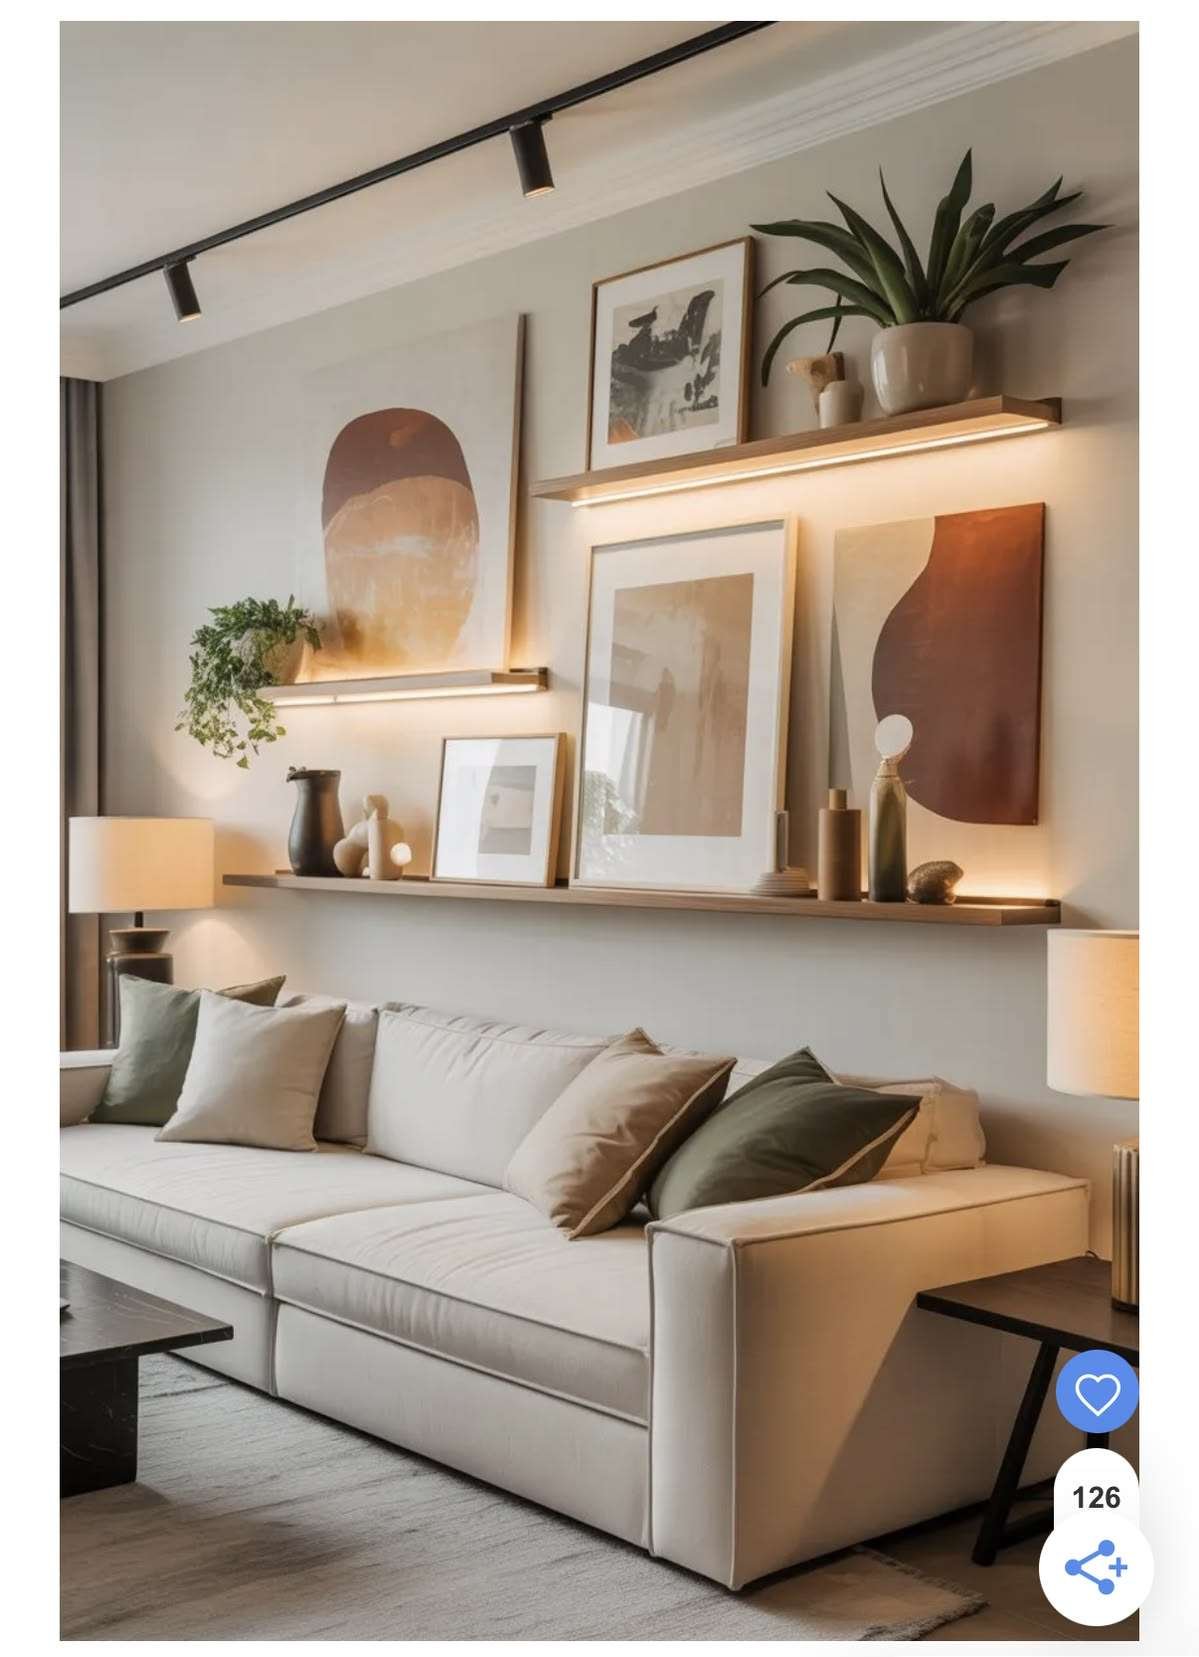
Image Credit: @diycozyliving.com
8. Tell Your Story With an Eclectic Mix of Photos and Meaningful Art
An eclectic picture ledge layout creates a personal gallery filled with photographs, travel memories, small illustrations, and meaningful keepsakes. Instead of making every frame match, the arrangement feels collected and individual while still following a few simple styling rules.
Combine black, walnut, and brass-colored frames in different sizes. Add photographs from favorite trips, small landscape prints, postcards, and artwork that reflects your interests. Start with one larger anchor piece, then build the arrangement around it using smaller frames and a few lightweight decorative accents.
To prevent the display from looking chaotic, repeat at least one frame finish and a few artwork colors. Leave enough space between groups so each piece remains visible. Use copies of irreplaceable photographs and keepsakes if they might be exposed to sunlight or accidental damage.
Personal decorating idea: Add one new photograph or artwork whenever you have a meaningful memory to display. Your gallery can grow gradually without needing a complete redesign.
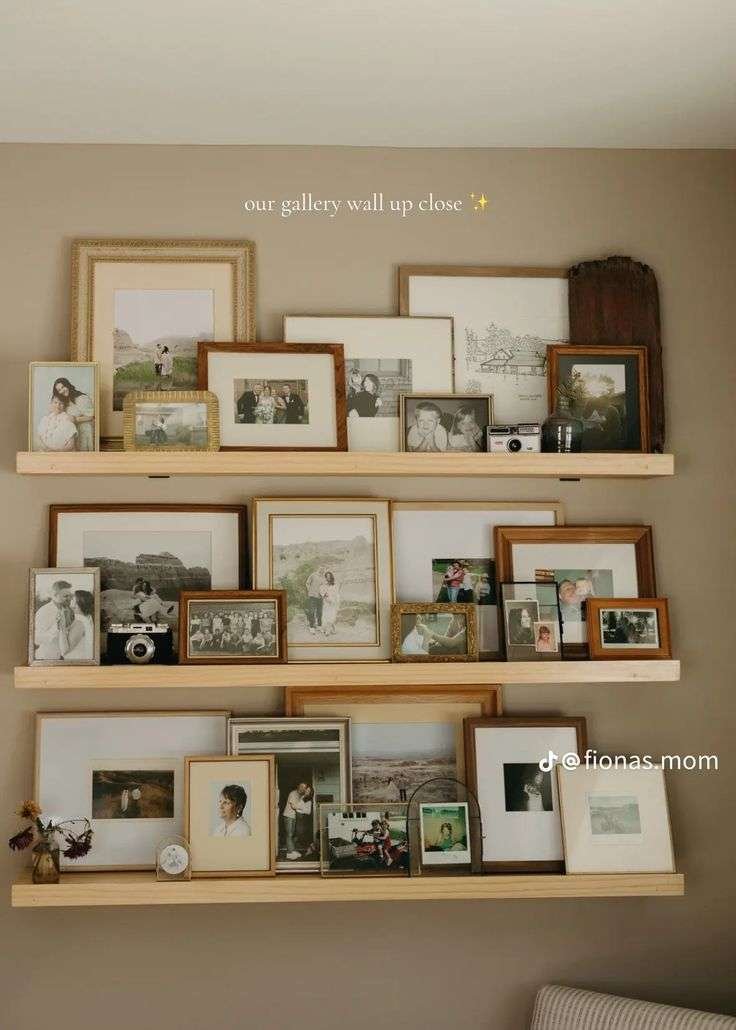
Image Credit: @diycozyliving.com
9. Make White Picture Ledges Stand Out Against a Dark Accent Wall
White picture ledges against a dark wall create a striking contrast that makes framed artwork feel crisp and intentional. This arrangement is particularly attractive in dining rooms, home offices, and modern living rooms where you want a dramatic feature without adding bulky furniture.
Paint one wall charcoal, soft black, or deep navy, then install white picture ledges in a symmetrical or staggered layout. Fill the shelves with white-framed abstract prints, black-and-white photographs, or artwork featuring a limited palette of cream, gray, and muted color accents.
A large artwork on the lower shelf can anchor the display, while smaller pieces on the upper shelf keep the composition visually balanced. Repeat a color from the artwork through nearby cushions or decorative objects to connect the wall with the rest of the room.
Design tip: Choose simple white frames and avoid overfilling the shelves. The contrast between the dark wall and light ledges is already a strong decorative feature.
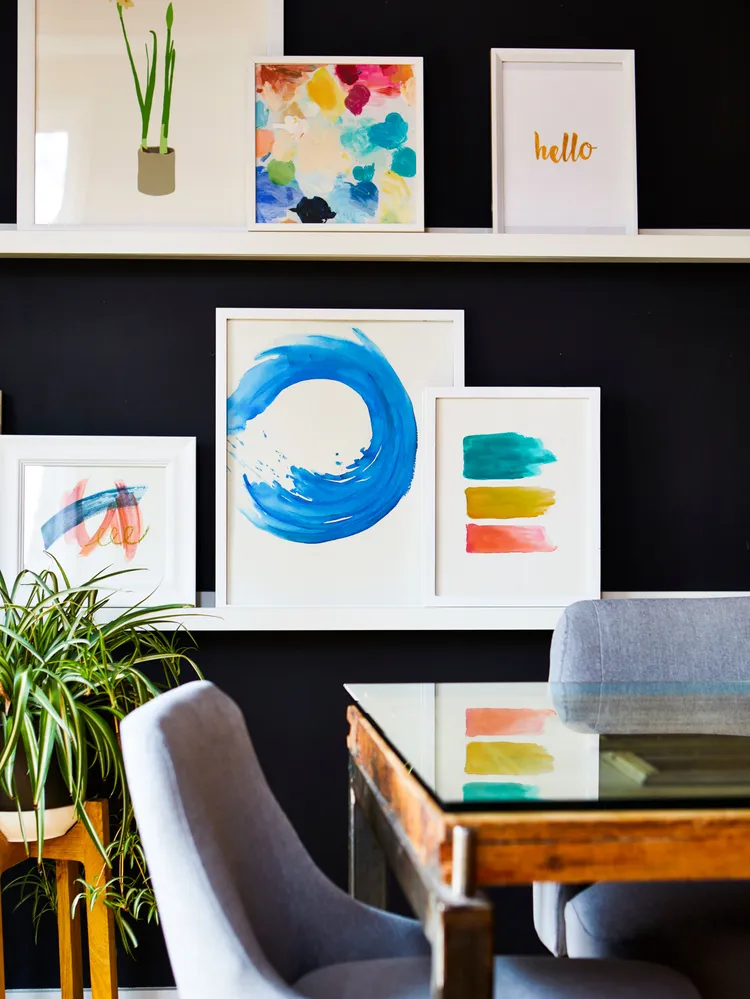
Image Credit: @bhg.com
10. Build a Front-Facing Children’s Book Display With Picture Ledges
Picture ledges make wonderful book displays in children’s bedrooms and playrooms because they allow colorful book covers to face outward. This turns a collection of favorite stories into cheerful wall decor while keeping books visible and easy to choose.
Install three or four shallow book ledges in an even vertical arrangement on an appropriate wall. Choose white, natural wood, or a muted pastel finish depending on the room’s color scheme. Arrange books with covers facing forward, mixing picture books and smaller titles to create a playful composition.
Keep the lowest ledges at a height children can reach safely without climbing. Select models designed to retain books securely, follow their load limits, and avoid placing the display where falling books could strike a sleeping child.
Organizing tip: Rotate a few books every couple of weeks so the display stays interesting without purchasing more storage furniture.
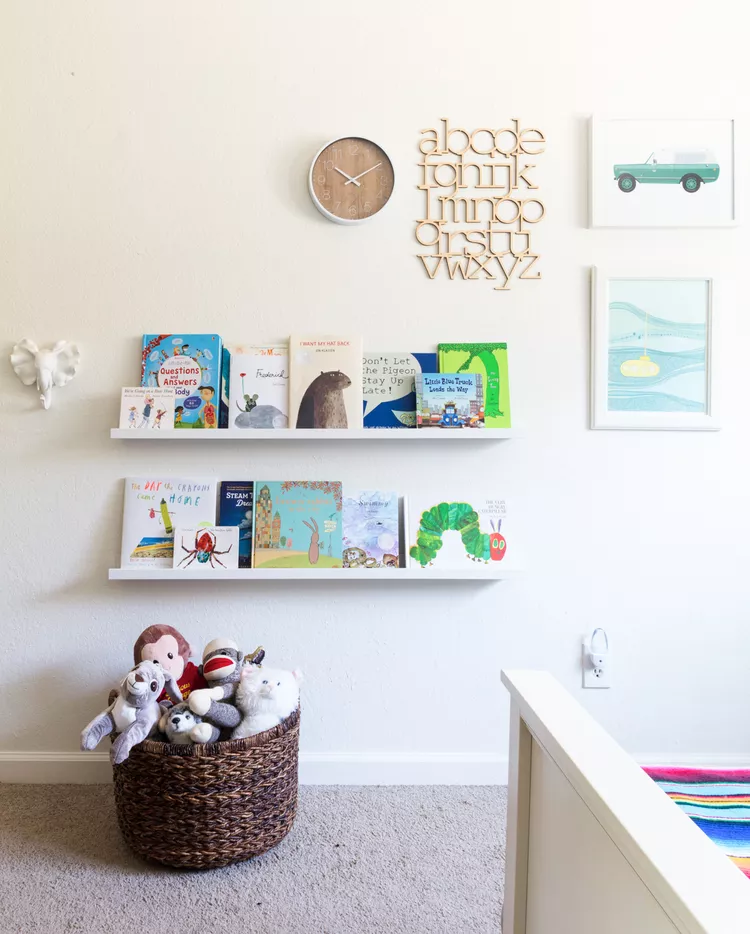
Image Credit: @bhg.com
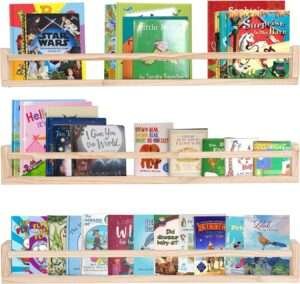
Amazon Find: Kids’ Front-Facing Book Ledge Shelves
Front-facing book shelves make children’s books easier to see and help create an organized display in bedrooms, nurseries, and playrooms.
11. Cover a Feature Wall With Three Long Picture Ledges
A series of three long picture ledges can turn a large empty wall into a beautiful gallery display. This arrangement offers more visual impact than one small shelf and works well behind a piano, along a dining room wall, or in a spacious living area.
Install three ledges at evenly planned heights, allowing sufficient room for frames and objects on each level. Combine family photographs, framed paintings, small sculptures, and lightweight decorative accents. Use larger artwork on the lower level and smaller pieces higher up to maintain a comfortable visual balance.
Rather than filling every shelf evenly, arrange objects in small clusters and leave some open areas. Choose a repeated color or material, such as natural wood, black frames, or ivory ceramics, to connect the different levels.
Gallery wall tip: Measure the tallest frames before marking shelf positions. Each level needs enough clearance for the display without touching the shelf above.
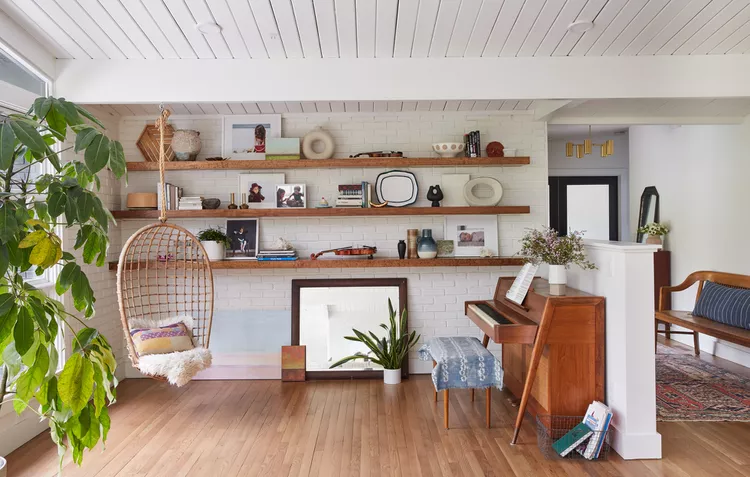
Image Credit: @bhg.com
12. Fill an Awkward Reading Nook With Short Picture Ledges
Small reading nooks, window alcoves, and unusual wall spaces can be difficult to decorate with traditional artwork arrangements. Short picture ledges offer a flexible solution because they can fit into narrow sections without requiring large furniture.
Choose one or two short ledges that fit the available wall width and position them beside a reading chair or near a window. Display a couple of framed landscapes, favorite book covers, or simple botanical prints. A tiny decorative vase or lightweight object can add warmth without filling the shelf.
Coordinate the artwork with nearby upholstery, curtains, or cushions so the nook feels like a deliberate part of the room. Keep ledges away from areas where someone seated in the chair might bump their head or shoulder.
Cozy styling tip: Soft green, warm beige, and pale wood create a peaceful reading corner, especially when paired with a small floor lamp and comfortable chair.
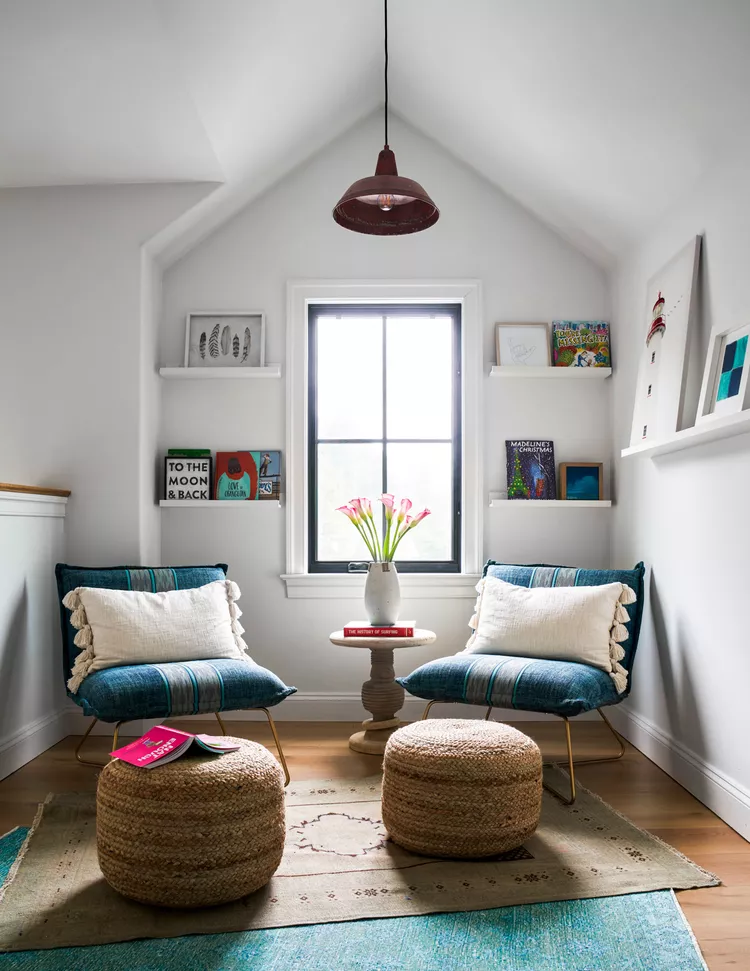
Image Credit: @bhg.com
13. Organize a Craft Room With Functional Picture Ledge Displays
In a craft room or creative workspace, picture ledges can provide useful storage while making the walls feel inspiring. Their shallow depth is ideal for displaying small canvases, inspirational artwork, and lightweight project materials without occupying valuable desk space.
Install a picture ledge above the worktable at a comfortable height, then arrange blank canvases, small framed references, notebooks, or organized lightweight supplies. If you need more display space, add a second ledge above it with enough clearance for taller items.
For a cheerful creative room, try white shelves against a pale blush, sage, or warm cream wall. Keep heavier craft tools and containers in sturdy cabinets rather than on shallow ledges. A separate pegboard can handle items that need to hang from hooks.
Practical tip: Keep active projects within easy reach and reserve the picture ledges for visual inspiration and small supplies that fit securely.
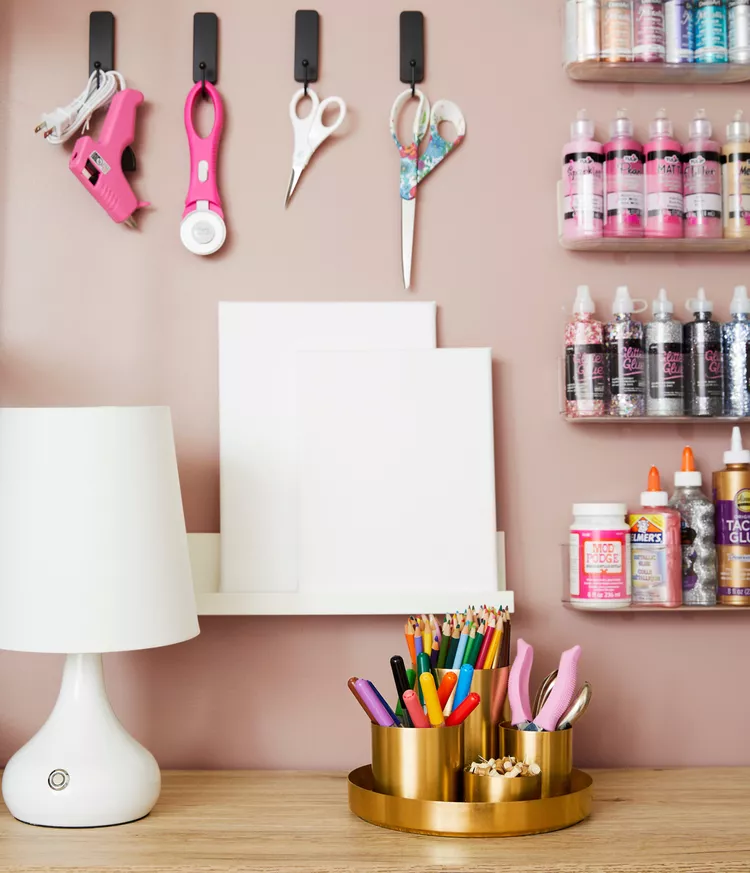
Image Credit: @bhg.com
14. Create a Living Room Focal Point With Small Art and Decorative Keepsakes
A living room picture ledge can bring together several smaller pieces of artwork and decorative keepsakes into one visually connected arrangement. Instead of scattering them across different furniture surfaces, displaying them together creates a clear focal point.
Choose one or two ledges above a sideboard or on a wall adjacent to the sofa. Start with a medium framed print, then add smaller family photographs, a lightweight decorative object, and another piece of artwork. Repeat a color from your furniture or rug to tie the collection into the room.
Use a mix of heights and shapes without making the arrangement too crowded. Keep fragile and heavy objects away from ledges directly above seating, and install all shelves using suitable wall supports.
Styling tip: A large piece placed slightly off-center can look more natural when balanced with two or three smaller objects on the opposite side.
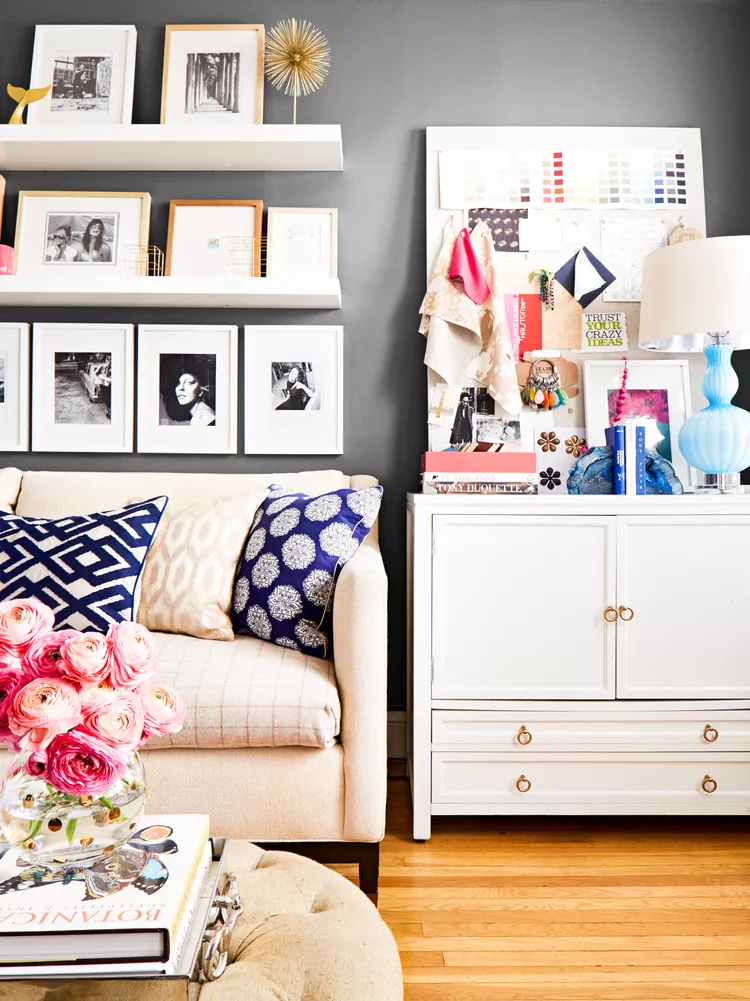
Image Credit: @bhg.com
15. Refresh a Bathroom Wall With Small Picture Ledges and Neutral Art
A small picture ledge can make a bathroom feel more personal without filling the counter with decorative accessories. This works particularly well on a blank wall where you want a little artwork but don’t have enough space for a traditional shelf arrangement.
Choose a moisture-resistant ledge in white, black, or a suitable sealed wood finish. Display two or three framed prints featuring botanical illustrations, abstract shapes, or soft landscapes. Keep the colors related to the bathroom’s tile and paint finishes for a coordinated look.
For a calm appearance, combine gray, ivory, and pale wood accents. Use artwork materials suited to humidity, and avoid placing moisture-sensitive frames or paper directly beside showers and sinks. Mount the ledge according to the wall construction and any bathroom-specific installation requirements.
Small bathroom tip: One short ledge with a pair of simple prints often looks more polished than several small decorations scattered around the room.
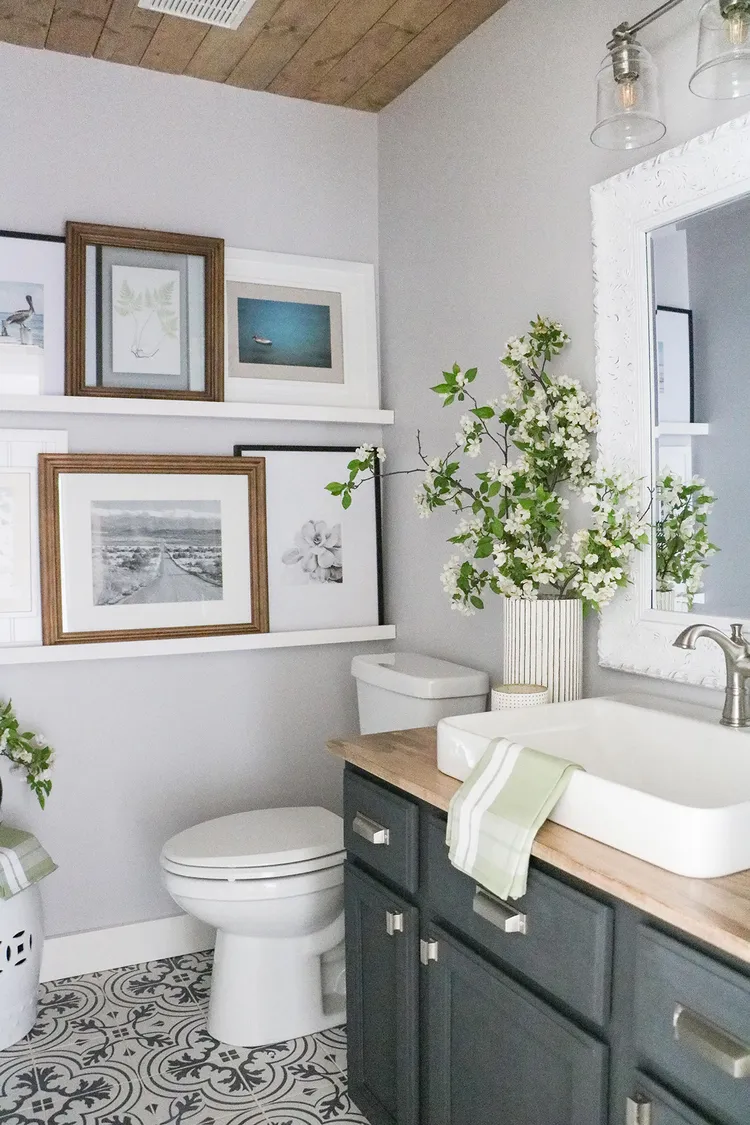
Image Credit: @bhg.com
16. Design an Oversized Picture Ledge Gallery Around Your TV Wall
On a large living room wall, long picture ledges can help integrate the television into a broader decorative arrangement. Instead of allowing the screen to become the only focal point, the surrounding artwork creates a more balanced and comfortable-looking entertainment area.
Install appropriately sized picture ledges above or beside the TV, leaving clear space around the screen. Use oversized framed artwork, medium prints, and a few smaller accents to connect the display. Black-and-white photographs work well for a modern look, while warm landscapes and wood frames give the room a softer feeling.
Keep the strongest decorative pieces toward the outer edges of the composition so the television remains comfortable to watch. Do not place a television on an ordinary narrow picture ledge unless that product is specifically engineered and rated for the equipment. Maintain required ventilation and keep artwork securely supported away from the screen.
Design tip: Repeat one color from the artwork in your sofa cushions or rug so the TV wall feels connected to the rest of the living room.
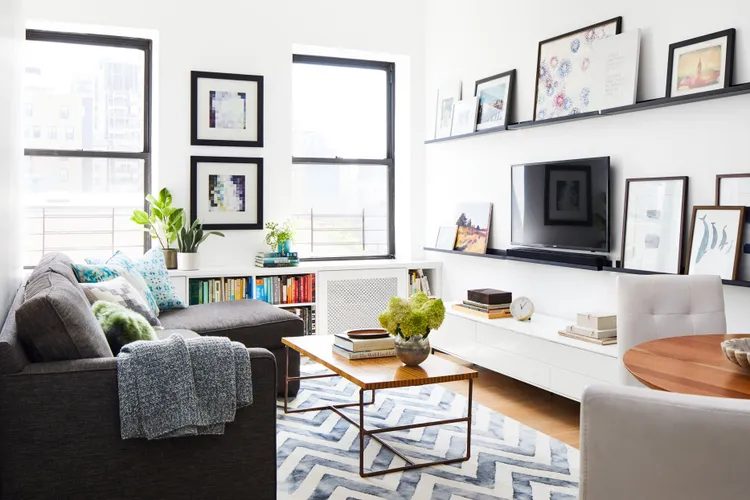
Image Credit: @bhg.com
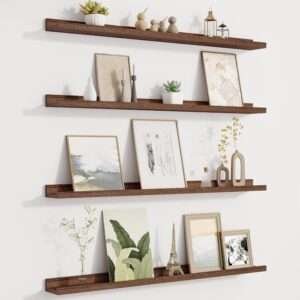
Amazon Find: Long Wall-Mounted Gallery Picture Ledges
Long gallery ledges provide display space for framed artwork on larger living room walls. Compare weight ratings and installation requirements before mounting them near electronics.
Best Color Combinations for Picture Ledge Displays
A picture ledge layout feels more cohesive when the shelf finish, frames, and artwork share a few related colors. You don’t have to match everything exactly, but repeating certain tones creates a more deliberate appearance.
- Warm Minimalist: Natural oak ledges, ivory frames, cream matting, and soft beige artwork. Beautiful for bedrooms and neutral living rooms.
- Modern Monochrome: Black ledges, white walls, charcoal prints, and black-and-white photographs. A clean look for contemporary interiors.
- Soft Scandinavian: Pale wood, warm white, muted sage, and simple botanical illustrations. Ideal for reading corners and family rooms.
- Eclectic Vintage: Walnut ledges, antique brass frames, faded landscape prints, and warm earthy artwork. A collected style with personality.
- Coastal Calm: White shelves, natural wood frames, sandy beige, and soft blue artwork. Lovely for light, relaxing interiors.
- Bold Contemporary: White ledges against deep navy or charcoal walls with graphic artwork and a small metallic accent.
Picture Ledge Layout Shopping Checklist
Before decorating, gather the basic installation supplies and decide how many frames will fit comfortably on your ledges. Start with the essentials, then add decorative extras only if the display needs them.
Essential Supplies
- Picture ledges with appropriate retaining lips
- Measuring tape and level
- Suitable screws and wall anchors
- Stud finder where appropriate
- Frames in two or three useful sizes
- Photographs, prints, or artwork
- Secure mounting or retaining accessories when needed
Optional Decorative Extras
- Small ceramic vases
- Lightweight decorative books
- Miniature indoor plants
- Natural or dried botanical stems
- Small framed illustrations
- Personal photographs and travel memories
- Lightweight sculptural objects
- Decorative postcards or art prints
Budget-friendly idea: Gather picture frames you already own before purchasing new ones. A simple coat of paint can help mismatched frames coordinate, and affordable prints or your own photographs can create a beautiful display without expensive original artwork.
Common Picture Ledge Styling Mistakes to Avoid
- Installing the ledges too close together: Leave enough vertical clearance for the tallest frames on the lower shelf.
- Overcrowding every inch: Some open space allows each frame and decorative object to stand out.
- Using too many unrelated colors: Repeat a few frame finishes or artwork colors to create a coordinated display.
- Choosing shelves that are too short: Picture ledges should feel proportional to the furniture and wall area they decorate.
- Ignoring shelf weight limits: Heavy frames, books, and ceramic pieces can overload shallow shelves. Follow the manufacturer’s rated capacity.
- Failing to secure artwork: Frames may slide or tip if they’re improperly positioned. Use retaining lips and suitable independent restraints for larger pieces.
- Hanging heavy items above beds or sofas: Avoid potentially dangerous falling objects directly over sleeping and seating areas.
- Using improper wall anchors: Choose fasteners appropriate for drywall, masonry, plaster, or the actual wall construction.
- Ignoring humidity: Bathrooms and kitchens require suitable shelf materials, frame finishes, and placement away from moisture and heat.
- Mixing too many decorative objects: Picture ledges work best when framed artwork remains the main focus rather than competing with crowded accessories.
Frequently Asked Questions About Picture Ledge Layout Ideas
1. How far apart should two picture ledges be?
The distance depends on the height of the frames you want to display. Smaller artwork may work with relatively close ledges, while taller framed prints need more clearance. Measure your tallest frame, allow extra room above it, and test the arrangement with painter’s tape before drilling.
2. How do I make a picture ledge display look balanced?
Begin with one larger framed artwork as the anchor, then add smaller pieces around it. Repeat a few colors or frame finishes, vary the heights, and leave open space between groups. The pieces don’t need to be perfectly symmetrical as long as the visual weight feels evenly distributed.
3. Can I mix different picture frame colors on one ledge?
Yes. Black, natural wood, brass-colored, and white frames can work beautifully together. Limit the arrangement to two or three main finishes and repeat each finish where possible. Choosing artwork with similar colors or consistent matting also helps different frames feel connected.
4. What can I display on picture ledges besides photographs?
Picture ledges can hold small framed prints, lightweight books, postcards, mini decorative objects, and carefully selected plants. Choose items that fit securely within the shelf depth and remain within its weight limit. Avoid placing fragile or heavy objects where they could fall onto seating or walking areas.
5. Are picture ledges a good option for small rooms?
Yes. Their shallow profile makes them useful in compact bedrooms, reading corners, hallways, and apartments. They provide a flexible way to display artwork without using floor space. Choose an appropriately sized ledge, avoid overcrowding, and install it where frames won’t interfere with everyday movement.
Recommended Amazon Finds for Picture Ledge Styling
These practical decorating items can help you create a picture ledge arrangement that looks coordinated and is easy to refresh whenever your style changes.
- Wooden Picture Ledge Shelves: Provide a simple foundation for layered artwork displays in living rooms, bedrooms, and reading corners.
- Gallery Wall Picture Frame Sets: Make it easier to create a coordinated arrangement using several frame sizes.
- Small Neutral Ceramic Vases: Add a subtle decorative accent to compatible picture ledges without overwhelming the artwork.
Final Thoughts on Picture Ledge Layout Ideas
Picture ledges offer a beautiful way to decorate your walls while keeping your artwork flexible and easy to rearrange. From matching symmetrical shelves to eclectic layered galleries and long living room displays, these picture ledge layout ideas show how a few carefully chosen frames can make an ordinary wall feel more personal and thoughtfully styled.
Start with the layout that suits your room and the artwork you already own. Choose a consistent shelf finish, arrange one larger anchor piece with a few smaller frames, and leave some open space so the display can breathe. With secure installation and thoughtful styling, your picture ledges can become a lasting feature that changes naturally with your home.
